So, you decided to raise chickens from eggs? It can be nerve-racking and confusing, but that’s why we’re here. Whether you’re doing this for the first time, using an incubator, a broody, or a brooder (or both), we’ll make it as straightforward as possible and walk you through the process step-by-step.
Once you have your eggs, you can use an incubator or a broody hen to hatch them. From there, you can choose to leave them with the hen or transition them to a brooder. Whatever way you choose, you have several things to do:
- Make sure the nesting and hatching area is safe and secure
- Monitor egg development for 21 days
- Set up a brooder or keep chicks with a hen
- Closely monitor chicks’ progress for eight weeks
- Move them into their new coop or integrate with the existing flock

When you raise chickens from eggs, those first weeks of temperature checking, poop cleaning, and water refilling, can turn you into either a “henicopter” parent or a serious “chick magnet.” In short, you really must be on your game in those early days!
Table of Contents
How to Raise Chickens from Eggs: 5 Steps from Nest to Hatchlings
With some organization and knowledge, you, too, can become a well-informed chicken keeper. The days leading up to your chicks’ arrival requires a lot of planning. Here are five steps on the journey towards the big hatch!
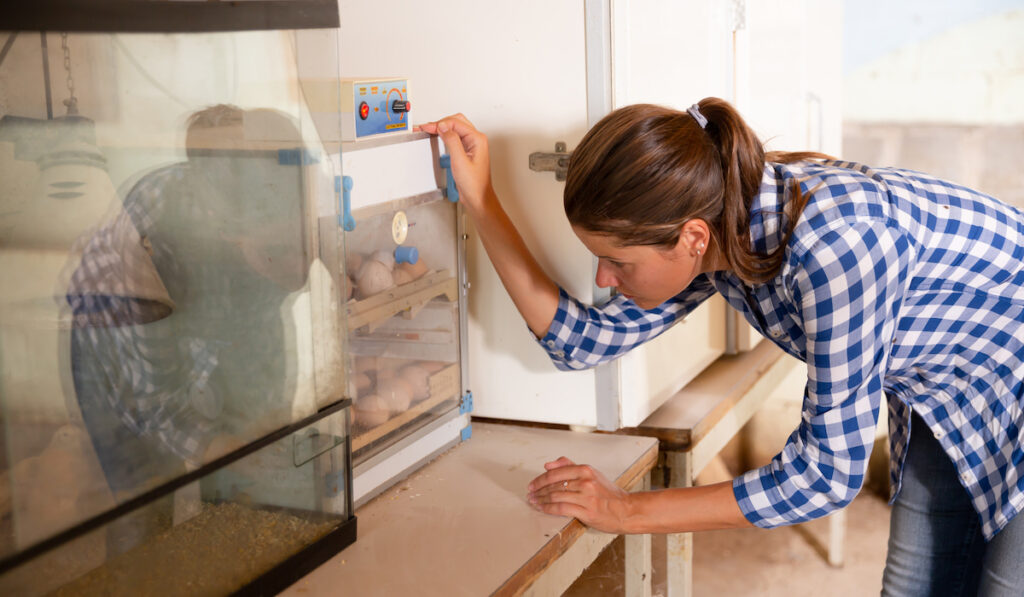
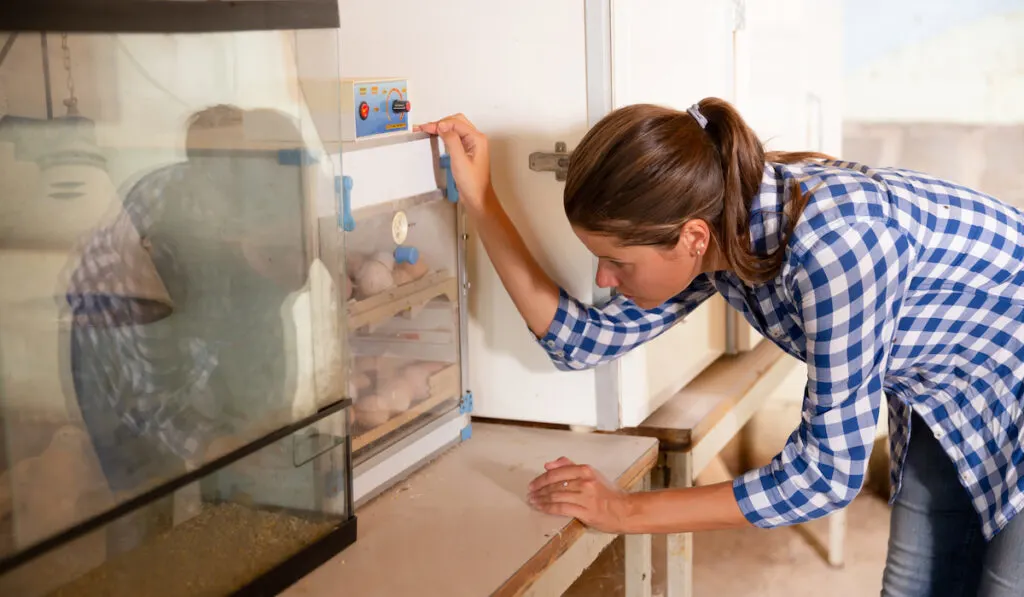
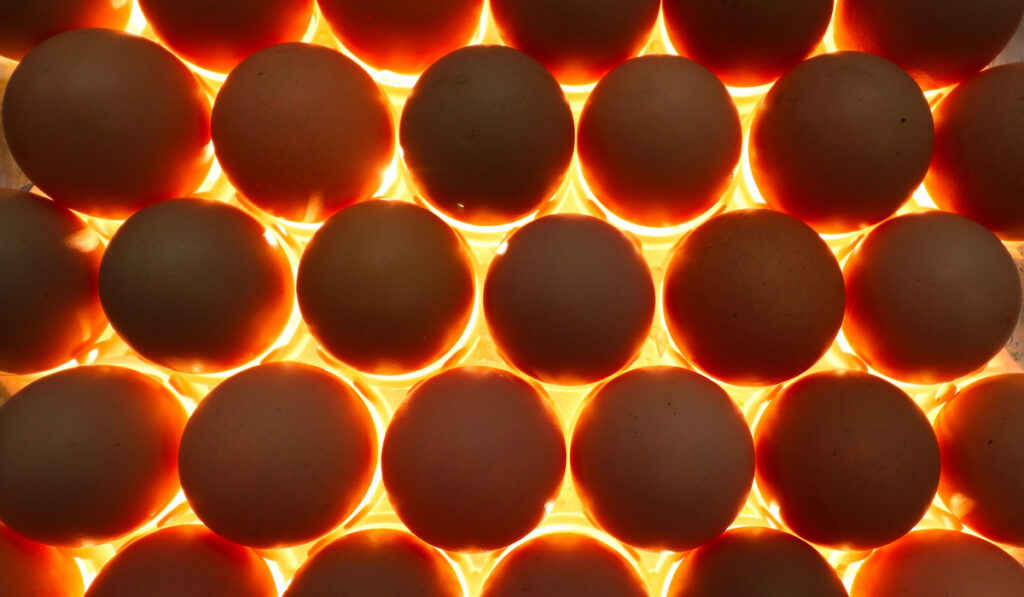
STEP ONE: Incubating Chicken Eggs
If you decide to incubate, you should get a forced-air model incubator with an automatic egg-turner that will rotate the eggs 4-5 times a day. Keep the temperature between 99-102 degrees Fahrenheit and the humidity between 55-60 percent.
TIP: If you bought eggs for your hen to hatch, don’t wash off the protective bloom on the shell.
For a still air incubator, the temperature should be around 101-102 degrees. The humidity should fall in the 45-50 percent range until day 18 (then reset to 65 percent during the last few days).
Ether way, your eggs will hatch in about 21 days.
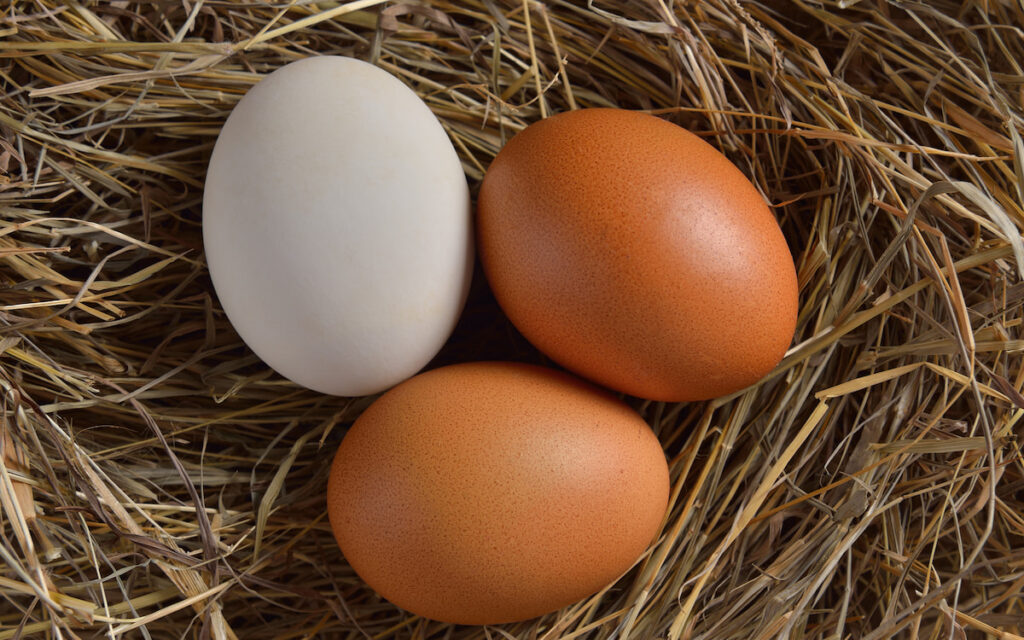
Buying Fertilized Eggs
If you do decide to hatch your own chicks but don’t have any hens (or roosters), you should find a supplier of fertilized eggs. Sourcing your eggs this way means getting to see the hens and eggs, and you may be able to transport them home yourself.
Eggs can be purchased online from various different chicken forums as well as from sites like eBay. Shipped eggs, however, are typically more sensitive and less likely to result in a successful hatch.
For your first time hatching, it’s best to go with local eggs that you can carefully transport home yourself.
Using a Broody to Hatch Eggs


You can artificially incubate and supervise egg development, then raise them until they’re old enough to join the flock. As I mentioned, you can also purchase eggs for hatching and have a broody hen sit on them.
If you have one available, a broody hen is usually best. A broody will do most of the work for you. It’s less time-consuming, and your chicks will hatch in approximately 21 days (there’s also a better hatch rate).
A broody will sit on the nest and ferociously protect her eggs, while a non-broody hen will not. Mom will get up once or twice a day to feed and poop, but other than that, she’ll be your incubator.
She wouldn’t just be aggressive with you if you reach for her eggs, but other animals and birds will incur her wrath as well.
However, not all breeds are the same when it comes to broodies. Some of the most popular breeds for brooding include:
- Silkies
- Cochins
- Orpingtons
- Sussex
- Brahmas
- Old English Games
You can find other popular brooding breeds here.
STEP TWO: Main Decisions When Raising Chicks from Eggs
Before we go any further, it’s important to point out three choices you can make that will simplify the experience or make it more hands-on, depending on your preference:
- Let your broody hen nest where she wants or move her to a new pen
- Move chicks when they’re born or leave them with the flock
- How to integrate them back into your backyard
We’ll focus on one process at a time, so let’s get into it.
The Broody Hens Nesting Location
Once a broody begins to nest, you can either move her to a new box or pen or leave her where she is. Here are the pros and cons of each.
Leaving the Broody with the Flock
Pros
- If you leave her alone, she will be less stressed.
- She will continue to be a part of the existing flock.
- You won’t have to provide food and water for her apart from the others.
- She will feel safe because it is where she chose to be.
- There’s no need for heating lamps, brooding boxes, or brooders.
- The hen, from early on, will teach chicks how to scavenge for bugs, greens, and to scratch and dig in a natural environment.
Cons
- The first problem comes if, after the first batch hatches, she leaves the other eggs unattended to take care of the newborns.
- Other birds might accidentally crack the other unhatched eggs as they move around and jostle each other.
- Your broody might end up sitting on all the other eggs that don’t belong to her.
- You may lose count of whose eggs are whose and when they should hatch.
- Once the chicks hatch, you have to feed the whole flock chick starter since babies cannot eat layer pellets.
Removing the Broody from the Flock
If you move your broody away from the flock so she can nest alone, there are benefits and risks here too.
Pros
- You will be able to track your hen more carefully
- It’s easier to mark, count, and monitor her eggs
- You can candle the eggs more easily
- You are able to monitor your hen’s eating, drinking, pooping, and sleeping
- It might be quiet and peaceful for her
- She and the chicks may be safer and less susceptible to predators and accidents
- New chicks are safe from injury or attacks from other hens
- You’ll have easier access to chicks and be able to monitor their growth
- If a chick gets stuck, it will be easier for you to help it.
- You have easy access to train chicks to find food and water
- You can check for new chicks without disturbing the rest of the flock
Cons
- You will have to find a space for your hen somewhere else
- She might refuse to nest in an unfamiliar place
- She’ll peck you when you reach for her eggs and try to move them
- She may not feel protected and safe in her new box and might abandon her eggs and chicks
- It is very stressful for her to move when she’s nesting
- She won’t be able to socialize with the flock
- You’ll have to reintroduce her and the chicks to the other chickens later
- You will need food and water for two sets of pens
STEP THREE: Setting up a New Nest for Your Hen

If you decide to move your hen, it’s important to have everything set up in advance. If the new nesting area is in a pen next to the existing flock, it’s easier than if it is in another building altogether.
If you can secure a section of the coop and block or wire it off, many experts recommend leaving the broody and new chicks there, visible to the flock, so they can see and interact with them. Full integration will be easier when the time comes.
Once you prepare the new space, make sure it’s safe and protected from rats, snakes, foxes, raccoons, weasels, dogs, cats, and any other predators.
Store chick food securely because that will attract them as well. Also, your hen and chicks need easy access to food and water, and space to walk around and poop.
Next, fill the box with the same nesting material that your hen is used to. Transport the eggs to the new nest then go back for her. Move her at night when it’s quiet, and she’s sleepy. Put on gloves because she will be grumpy, and when you set her down, don’t put her near but not on the nest (she might panic and break the eggs).
Prepare the space keeping in mind you’ll want chicks to have some room to roam and explore away from adult chickens. They need a place where they can safely practice eating, drinking and moving about.
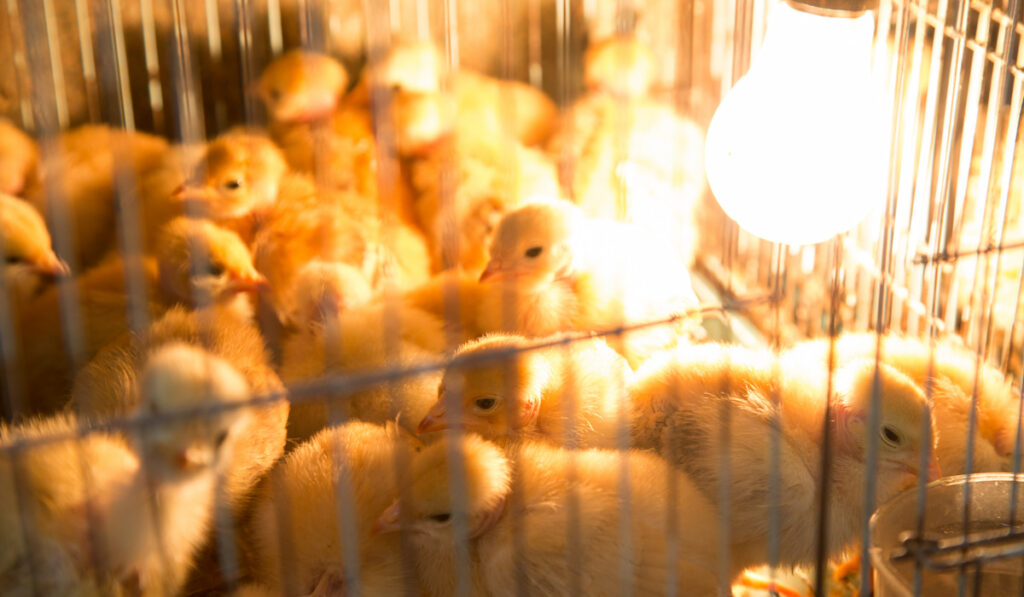
How to Prepare a Brooding Box
If you move the hen and eggs away from the coop (in a separate outbuilding or inside your home), then you can buy a brooding box or make one yourself out of cardboard.
The Brooding Box: These come in different shapes and sizes, and you can buy a cheaper one to begin with. If you make your own, make sure it is:
- Tall enough to keep the chicks from escaping
- Of adequate size to hold the hen, chicks, and their food and water
- A draft-proof box to control the internal temperature
- Roomy enough for them to move about and relieve themselves
Temperature Control: Chicks need a warm environment until they have enough feathers to regulate their body temperature – at least until they’re 6-7 weeks old. You can use heat plates or temperature-controlled heating lamps in the brooding box.
The Bedding: Buy pine shavings or corn cob bedding and put towels underneath to prevent chicks from slipping.
Water and Feeders: Buy a chick waterer and starter feeder. A feeder is a good idea because chicks are messy, and they’ll kick bedding in the water and poop all over the place. Also, buy a small dish for chick grit for when they start on greens.
Have a Backup Plan
Sometimes moving a hen will cause her to lose all interest in sitting on eggs. In this case, you will be left with developing eggs and need a way to keep them warm as soon as possible.
While a warm lamp could work to keep them warm in a pinch, an incubator, or another broody hen, are the only long term viable options for the eggs to survive.
Always keep this risk in mind when deciding to move a broody hen.
STEP FOUR: Wait for Your Hen to Do Her Magic
Now, you sit and wait for your hen to do the bulk of the work. You will want to monitor her health and well-being during this time. Make sure she gets up to eat and drink and doesn’t just sit all day.
The broody may know when she’s sitting on rotten eggs and kick them out, and many believe candling isn’t necessary, but to avoid the mess she might create with a rotten egg, you can double-check yourself.
How to Candle Eggs for Fertility

Candling is where you hold a bright light (or candle) behind the egg, while in a dark room, so you can see if it’s fertile.
Some say wait ten days to candle the eggs, while other experts believe if its white eggs, do it on the 3rd day, and if it’s brown, do it on the 5th day. More recommend doing it on day seven because the embryo isn’t detectable before then. You can experiment and decide what works best for you.
When I hatch eggs in my incubator, I candle the eggs weekly. It is natural to lose some embryos along the way and candling them helps to discard any eggs that are no longer developing.
If there’s an embryo inside, look at the opacity, shape, and color of the contents. Check to see the air sac, the yolk, and blood vessels are there.
If you are hatching with a broody hen I would personally probably candle only once, twice at the most. After the initial candling, you should wait at least another week to check again.
In this case, try to candle the eggs at night when she is already sleeping. This will cause less of a disturbance and make it less likely for her to decide to abandon the eggs.
Removing eggs affects the temperature and humidity, so don’t do it too often. It’s also best not to candle after day 16 or 17 if you are using a heated candling source, so you don’t harm chicks’ development. If you are using an LED flashlight or something similar, you can candle at any stage.
TIP: Marking eggs before they hatch (with a sharpie), gives you a good idea of how many are in the clutch, when they will hatch, and which ones are too new to hatch on time, or rotten.
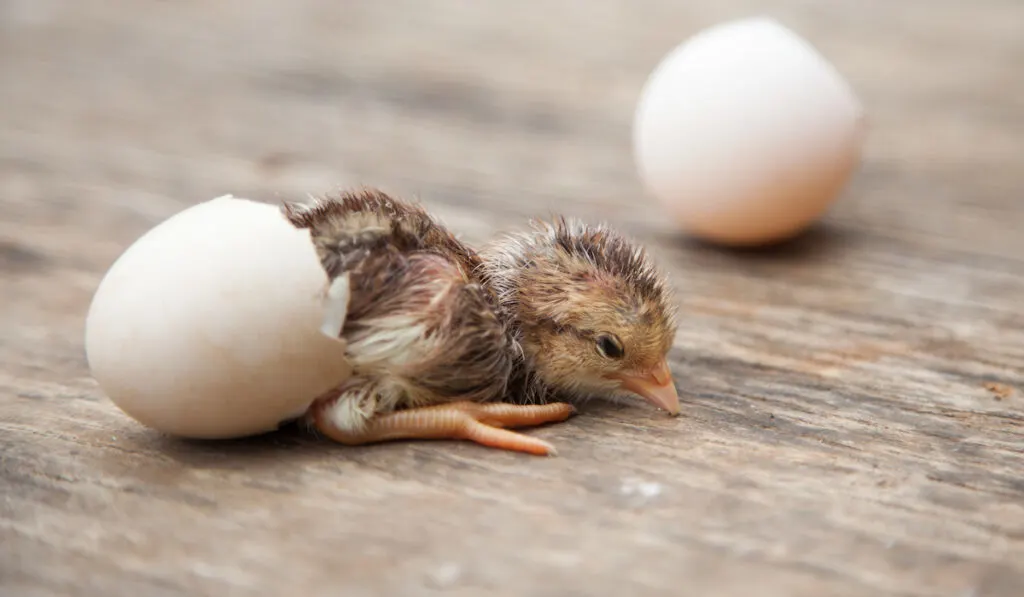
STEP FIVE: Helping When It’s Time to Hatch Chicks
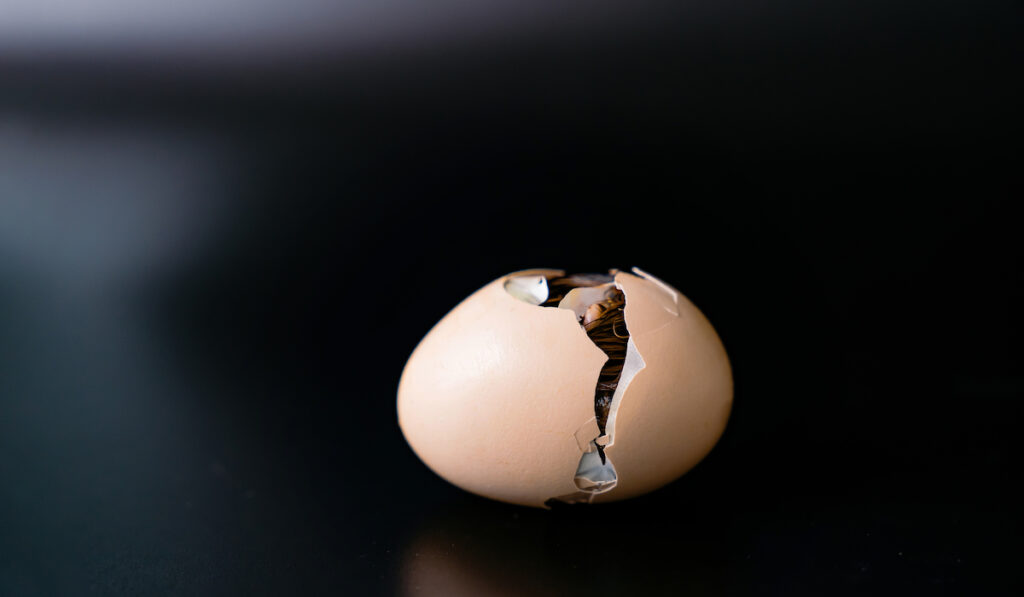

Once it’s time to hatch, you should cover the nesting box or pen, and wait for a day or so before returning to check on the broody. She might get anxious if she senses you watching and will be distracted. She is also very capable of caring for them during the process, and doesn’t need you pestering her!
If you find a chick that isn’t fully hatching, you can help (although some chicken keepers prefer to let nature take its course).
Once the chick has pecked a hole, if it doesn’t emerge in a few hours, remove the partially cracked egg from the clutch. According to ACS University, here’s what to do next:
- Before you do anything else, start the incubator and make sure it’s warm and in a safe place. If you have an incubator, the humidity should be on high.
- If the egg membrane is dried or darkened, moisten it using warm water and your fingers. Avoid getting water inside the egg or on the chick’s beak.
- When the membrane is softened, wrap the shell in a warm moist towel to soften that, as well.
- Begin picking back small parts of the shell where the beak is protruding. Only do enough to help the chick emerge. It needs to do the rest and push the shell open because it helps them develop the use of their legs.
- If the chick continues to struggle, continue peeling back the shell just enough so the chick can wriggle out on its own.
- Wrap the baby and place it in the warmed box. The towel should be new and unused (a small kitchen cloth for cleaning is ideal).
I personally only assist with hatches when I am using my incubator. Even then, just keep in mind that you may lose a few chicks during the hatching process and some eggs may never hatch at all.
Before the hatching begins, hopefully, you have prepared the brooding box to have it warm and ready for the chicks. Once the chicks are born, they’ll nestle under the broody to regulate their body temperature. You can leave a part of the brooder uncovered so mama hen can come and go when she needs to.
How Do I Care for My New Chicks in the Coming Weeks?

For the first 60 days, your new chicks are going to require a different kind of care and attention than a backyard flock would. Especially if you purchased baby chicks, used an incubator, or don’t have a hen or broody to raise them for you.
The preparation for this stage is pretty easy. You will need to:
- Set up the brooder (before they arrive or hatch)
- Scatter bedding and fill water and food feeders
The rest is pretty much the same as with a broody (for example, if you moved it into your home to protect the chicks). Either way, get ready to clean, change, and repeat.
Cleaning: It’s important to change their water several times a day and clean poop at least twice. Check if the bedding is wet, and change it as soon as possible (bacteria loves warm, damp places). Sanitize the feeder and waterer at least four times a week.
Temperature settings: Ensure it’s 95 degrees that first week and reduce it by about 5 degrees each week until it reaches 65-degrees (or room temperature, whichever is higher). You can use a thermometer but watch the chicks to gauge if they are too hot or cold (either huddling or spread out too far).
Food and Water: The egg yolk the chick absorbed into its body will keep it fed for the first 72 hours. After that, they’ll need water and food. If your chicks have been vaccinated for coccidia, then use un-medicated chick starter.
If chicks haven’t been vaccinated, you may want to consider purchasing the medicated version with a coccidiostat to protect them from the disease. You can raise chicks “naturally” but keep in mind that by doing so, you may have a higher than average loss rate.
As for water, make sure it isn’t too cold or hot, and add a vitamin supplement, electrolytes, and probiotics that the first week. Also, purchase some chick grit to help with digestion.
Chick Feeding Guidelines
| Timeline | Ratio |
| 0-8 weeks | 18-20 percent starter feed crumbles |
| 8-14 weeks | 16-18 percent starter/grower |
| 15-18 weeks | 16-percent finisher |
| 18 weeks and beyond | 16-percent layer feed |
Source: The Happy Chicken Coop
A Week-by-week Glance at Your Growing Chicks
Want to know what happens each week and how to introduce new chicks to the flock? Here is a timeline of your chicks’ development.
Keep in mind that these steps are for chicks not raised by a hen. If your hen is raising the baby chicks, she’ll take care of everything for you.
Week 1-2
The chicks will sleep a lot during the first week. For the next two weeks, they will be building strength and muscle, but at first, their legs will be weak, which is why the brooder should be lined so they don’t slip.
Add a few clean pebbles or small marbles in the water dish to prevent them from drowning. Here is where you start training the newborns, by dipping the beak of each chick in the water (be sure it’s submerged so they can drink). Do the same with the food feeder, so they can later find it on their own.
Week 3-4
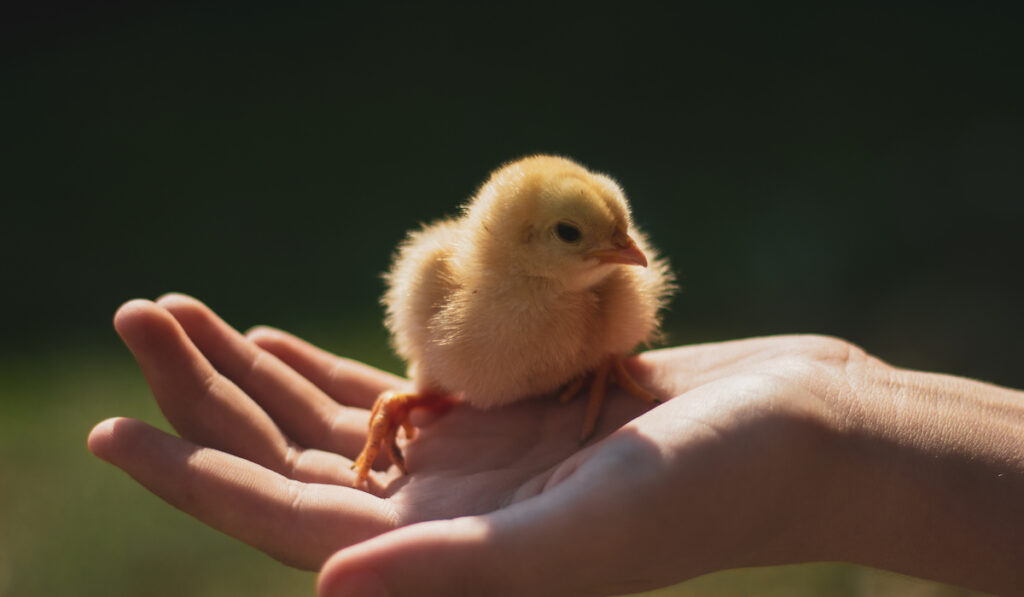
You can lightly stroke and cuddle them for short periods to get them used to human interaction. The first two months are the best time to bond with them, so if you can, do it a few times a day. Remember, they are social animals and love company.
If they’re cramped, now is the time to let them spread out a bit more. The brooder should be around 85-degrees as they’ll have more feathers now.
Week 5-6
Reduce it to 75 degrees by week five and watch as they start getting stronger. They should be eating and drinking without encouragement. Most of their feathers will have appeared.
If the temperature is over 65 degrees outdoors, you can allow chicks outside the brooder for short periods but keep them physically apart from the flock. They might stay in one spot at first, but they’ll get used to it. Don’t forget to add the grits to their feed in case they pick at bugs and grass.
Week 7-8
By week eight, they will look like little adults with a full body of feathers. They’ll also have their own routines and will get antsy being cooped up, no pun intended.
Experts recommend waiting until at least six weeks and up to two months before allowing chicks to mix with the other chickens. If you introduce them to the flock too soon, they’ll be too small and might be attacked, and predators (suck as crows) can steal them.
Now is the time to move them to the chicken coop if it’s your first set of chickens or start integrating them with the existing flock.
Introducing New Chickens to the Established Flock
Sometimes, the other chickens will determine what should happen, and especially if it’s an aggressive lot, you may need to move slowly.
Either way, once the chicks are old enough (at least 2/3 the size of an adult), it’s time to move them from the brooder or pen. If the brooding area isn’t already next to the coop, you can create a space and wire it off, then put the new ones on one side.
Gradually over the first week of introduction, the transition should continue. Once your chicks are visible to and next to the rest of the chickens, you can let them out for a few minutes and watch to see how they interact. One they get used to them, keep the new chickens inside the main coop (for a day or so) to associate this new space with home.
You can provide distractions such as treats high on the inside of the coop, so the older chickens are kept busy. You can also change the layout inside the coop, so everyone has to rearrange themselves and reestablish in a new setting.
If you used a broody, she’ll watch them closely until she feels they’re old enough. Then, she will begin leaving them alone during the day and stop sleeping with them at night. Once she starts pecking at them, that’s when you know her job is done.
TIP: As soon as you can, let your new chickens roam the backyard. They will dig up a portion of their diet with insects, slugs, seeds, snails, and more, and you supplement it with chicken feed.
Tips on Caring for New Chickens

Now that your chicks have grown-up taking care of them is easier. Here are a few suggestions.
- Food: Make sure they have fresh feed daily and that its at least 16-percent protein. Add the grit in a bowl of sand and put it in the coop.
- Hygiene: Check for damp or wet feed and flooring as mold will grow if it’s not removed regularly. Clean the coop at least once a week and remove droppings. Disinfect it and use all-natural cleaners or a white vinegar and water mix.
- Watch for Pasting: Pasting happens to newborn chicks. It is when their feces get stuck to their vent, and they cannot relieve themselves. Check for pasting every day for the first week. You can use a washcloth to clean it or cut the feathers around their vent.
- Supplements: Make sure laying hens have calcium (it comes in crushed oyster shells or crushed limestone) from the feed store, or you can crush and recycle old eggshells.
- Pecking order: The pecking order is where each bird has its place, but when it comes to outright bullying, here’s what you can do about it.
- Where to put the brooder. The brooder shouldn’t be in your bedroom, dining room, or kitchen, in case of allergies (from bird dust and dander).
- A heating lamp can cause coop fires. Shavings are flammable. It’s best to invest in a brooder plate or electric hen, which is safer.
- A clutch size is determined by the number of eggs laid during consecutive days. A full clutch is typically 8-12 eggs. Any daylong break between laying periods can result in another clutch, and your hen being distracted from the eggs she already has.
Final Thoughts
Raising chicks from eggs can be a fun and rewarding experience. Whether you choose to hatch fertile eggs from your own flock or buy them, you’ll need a way to incubate them.
Whenever possible, letting nature handle things by putting the eggs under a broody hen is always the best option. Chicken mom’s are great at ensuring their eggs hatch and the chicks are well cared for.
If you are new to chickens, or just want the joy of watching the process from the comfort of your own home, an incubator is the way to go. You’ll be able to watch your eggs develop and your baby chicks hatch one by one. Raising them is easy in a brooder and soon, with proper introductions, they’ll be ready to become members of your flock!