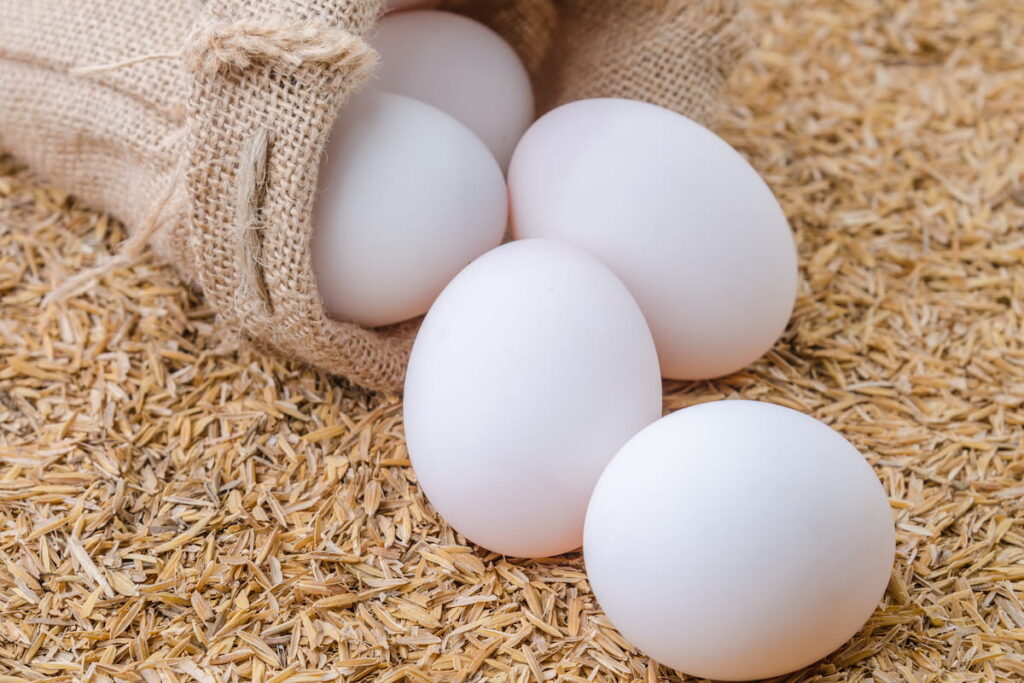
An incubator makes the job a lot easier, but it’s not required to hatch duck eggs.
The main thing you need is consistent heat that warms the fertilized egg until it hatches. If the egg sits out or gets too cold, it will be much more challenging to get it to hatch.
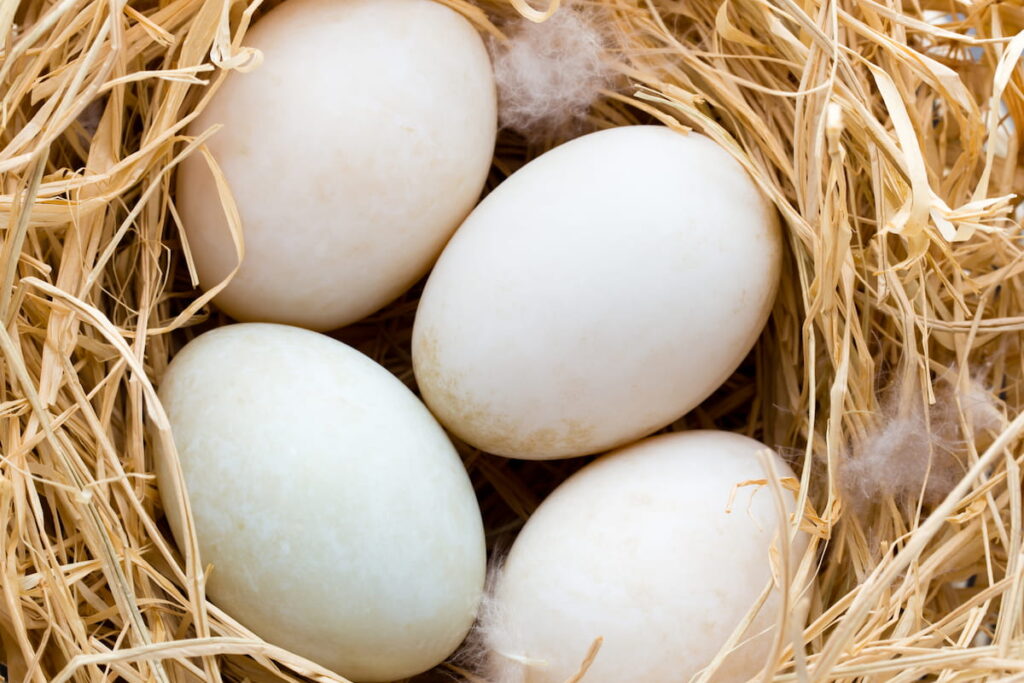
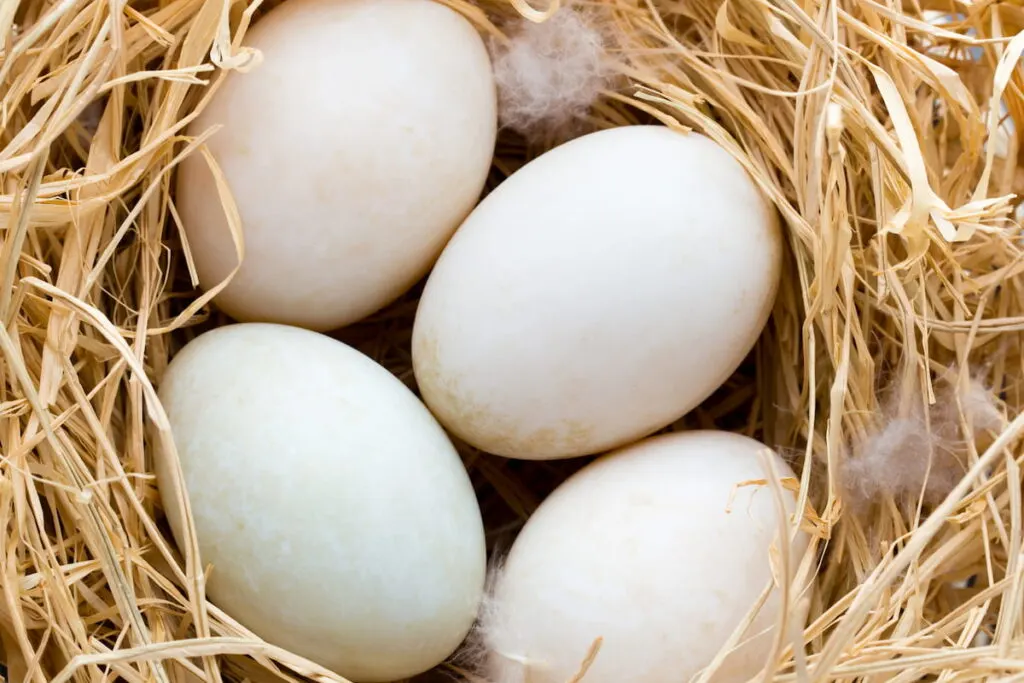
It usually takes around 21 days for a duck egg to go from fertilization to hatching. Those three weeks require a lot of discipline and patience. You must constantly check to see that the area where the eggs are is warm enough to sustain them until they hatch.
However, the results are usually worth it. Seeing duck eggs hatch is always a lot of fun, and you grow closer to the animals you raised from the start.
If you’re trying to hatch duck eggs without an incubator, here are some things you can do to increase your odds of success.
Table of Contents
Use a Brooding Bird
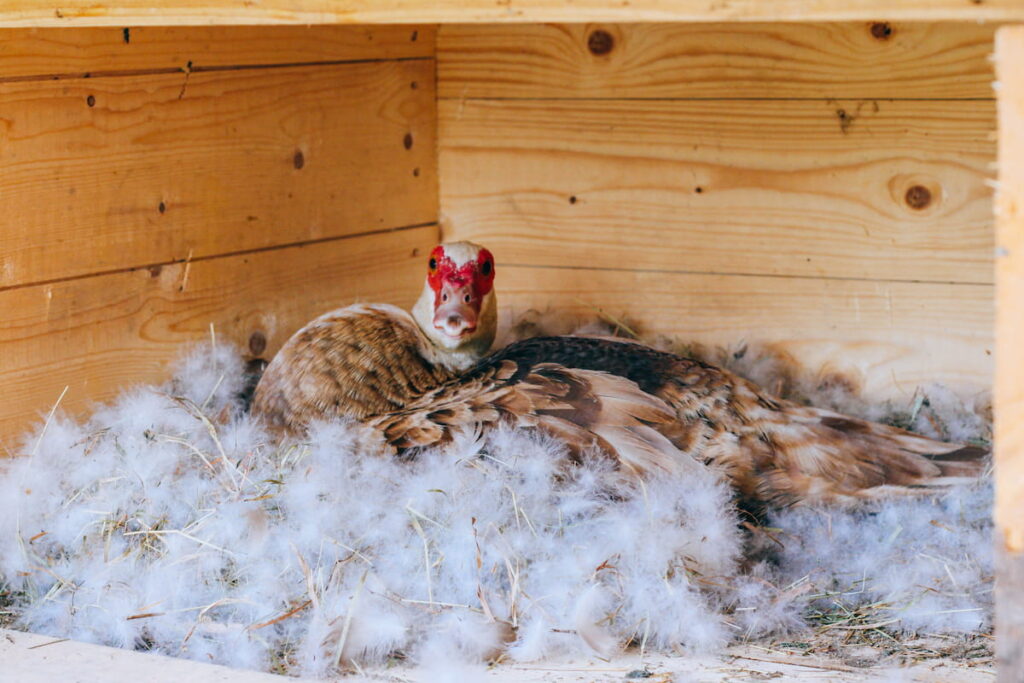
Of course, perhaps the simplest way to hatch duck eggs without an incubator is to have a brooding bird incubate them the way they’ve been doing for eons.
If you’re lucky enough to have another duck, chicken, or some other brooding bird on your property, you can set the eggs under them for incubation.
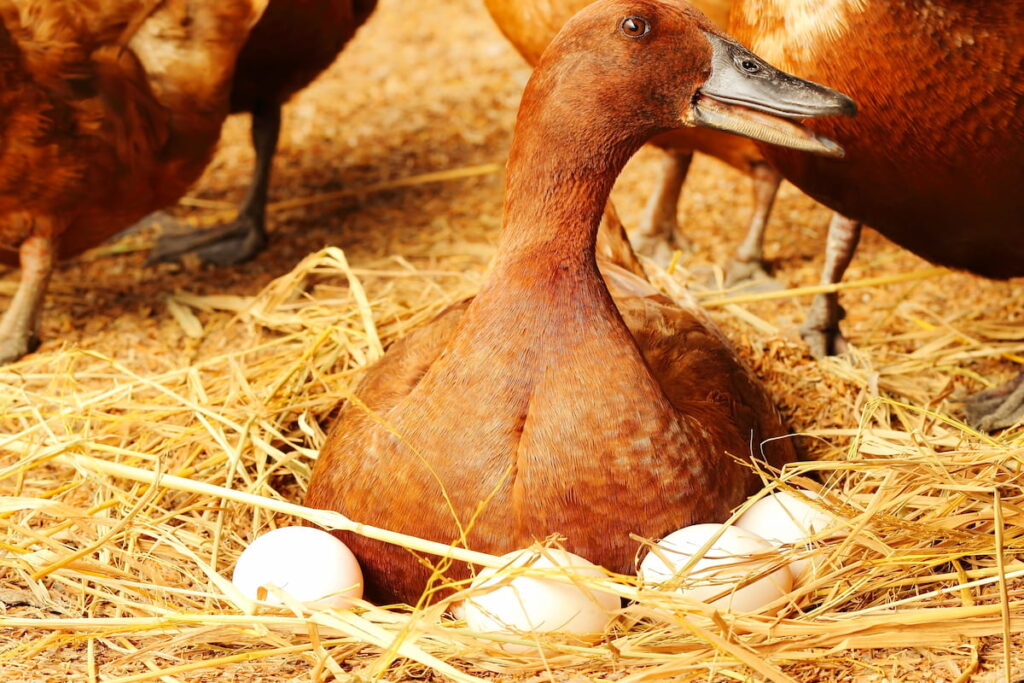

Ideally, you’ll find a duck to hatch your eggs, but that’s not completely necessary. Geese, chickens, and other brooding birds will do the job just as well.
Sometimes you’ll need to switch out the bird’s eggs for the duck eggs, but they usually won’t notice the difference and will keep sitting on the eggs until they hatch.
If the bird has room to fit your duck eggs and their eggs, you can leave them all. An egg will only incubate if the brooding bird can cover it with their body.
It’s best to place the eggs under the brooding bird at night. They’re less likely to notice different eggs in their nest than if you switched them in the daytime.
Maintain High Temperatures
To incubate and hatch, duck eggs need to stay at around 90°F.
There are ways to keep rooms hot but cranking up the heat from your furnace to 90° will make people in the house miserable and cost you a lot of money.

In addition, most people don’t want to incubate duck eggs in their living rooms, so eggs usually end up in garages or a shed in the yard.
Those places don’t often have separate thermostats, so you will need to find a different solution.
The first thing you need to do is find a way to measure the temperature around the eggs.
You can find a temperature monitor to spot-test the box or whatever container you keep the eggs in.
Likewise, you can set a thermometer inside the box, so you’ll always know how hot it is inside.
The steadier you keep the temperature, the more likely your eggs will hatch. Here are some heat solutions you can use instead of an expensive incubator.
Heat Lamps
Agricultural or farm supply stores usually sell heat lamps designed for incubating eggs, heating young animals, and a host of other uses.
You can pick one up for your duck eggs and find the best way to get the temperature to 90°F.
This means you’ll have to move the heat lamp closer or farther away until you find the sweet spot.

Disposable Hand Warmers
Disposable hand warmers are another tool people use to hatch duck eggs without an incubator.
However, disposable hand warmers typically only provide heat for several hours, so you’re going to need to change them out frequently.
Place the hand warmers and the duck egg inside of a sock or wrap them in a towel to keep things warmer in a tight space.
Heated Rice
Another good trick to keep your duck eggs warm is to put uncooked rice in a bag or a sock and stick it in the microwave for a few minutes until it’s hot.
You don’t want the rice piping hot, or else it will kill the egg. It should be warm to the touch. Then, insert the egg into the rice and let it sit.
Cycle the eggs and rice as often as needed to stay at around 90°F.
Buy a Heating Pad
A heating pad is another good solution for hatching eggs without an incubator.
The best way to do this is to have a heating pad that never turns off (some of them have triggers that automatically turn them off after several hours to reduce fire hazards).
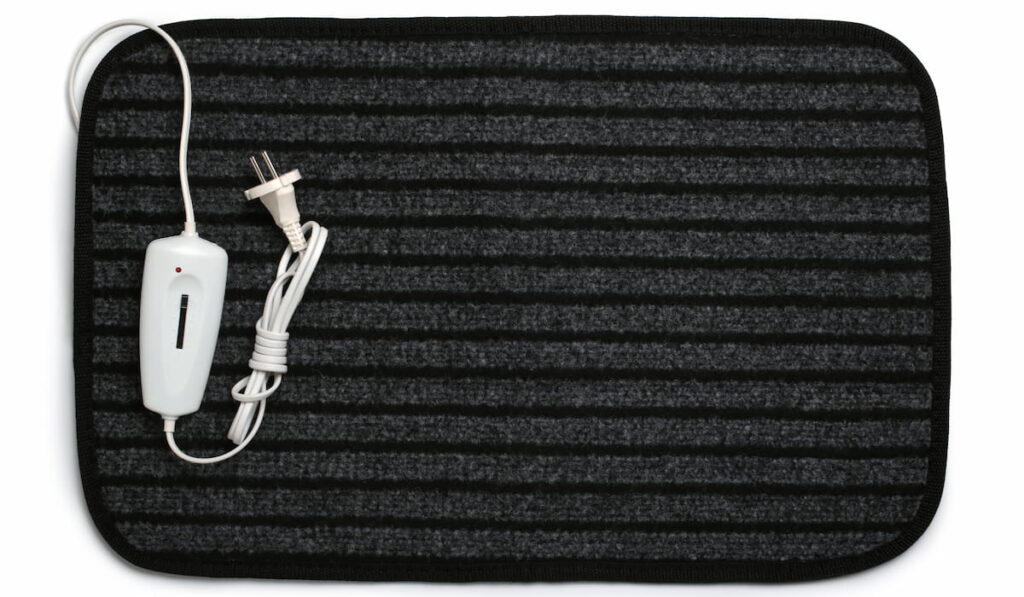
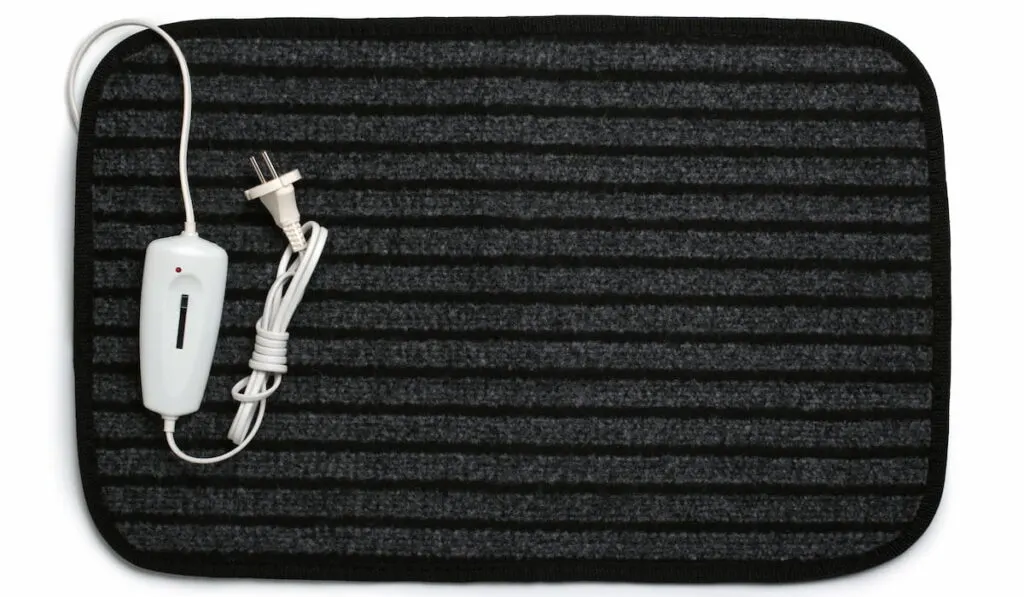
You’ll also need to use some towels to wrap the eggs and provide a buffer between the eggs and the heating pad. If the eggs touch the heating pad, they can be too hot to hatch.
Combine Heat with Humidity
Duck eggs need to be in a humid environment to hatch. In addition to adding artificial heat, you must find a way to increase the humidity wherever the eggs are.
Usually, a moist towel or washcloth is the best way to go. Simply wet the towel and wring it out until it’s almost dry. Then, lay the moist towel gently over the eggs in the heated container.
Of course, you’ll want to use warm water rather than cold, and you’ll need to switch out the towel for a new one once it starts to cool down.
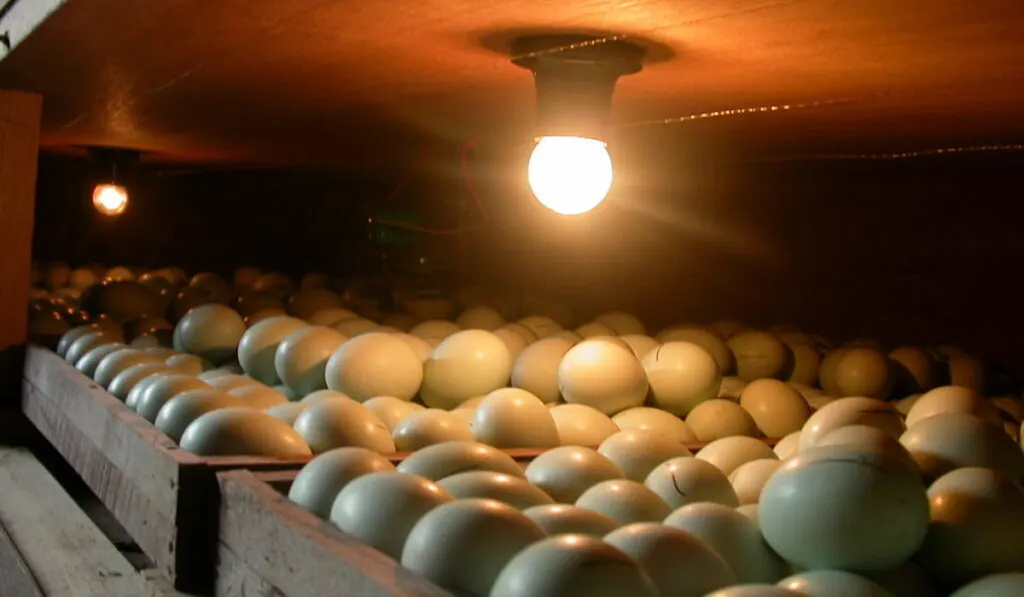
Build a Homemade Incubator
You can also build a homemade incubator if you want to save money. If you’ve got a cooler lying around, you can fashion it into an incubator that will hatch your duck eggs.
First, place a baking tray or some other open container on the floor inside the cooler. This is where you will put your water to keep the incubator humid.
Fill it halfway with water, then put a mesh tray on top. The mesh is important because the holes let the humidity from the water into the rest of the cooler.
Now you have to find a way to heat the incubator. Probably the easiest way is with a lightbulb.
You can either tape the lightbulb to the top of the cooler or screw it in if it’s a cooler you won’t need to use for a picnic down the road.
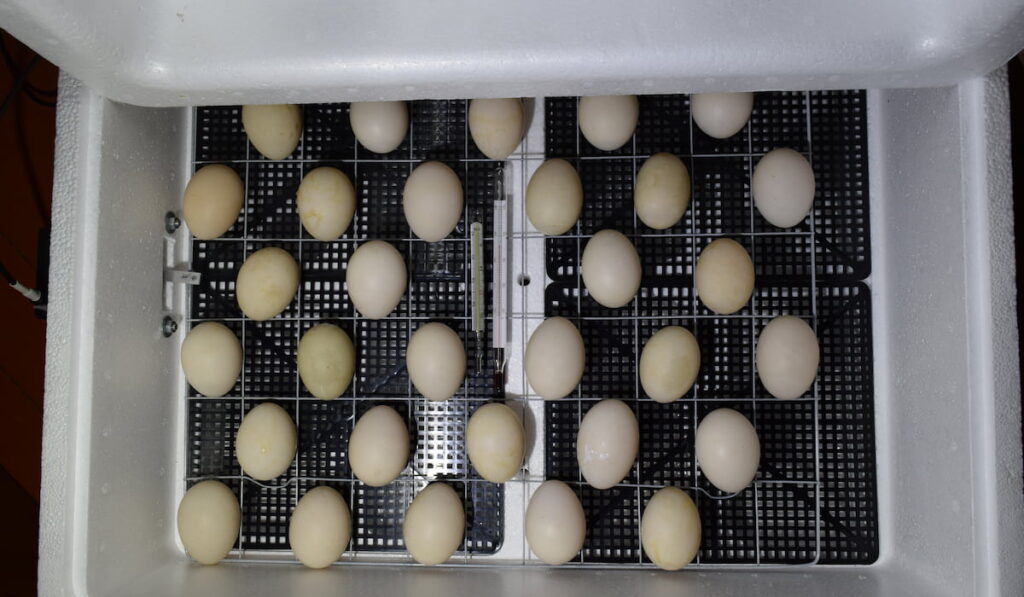

Avoid sealing the cooler completely if it’s an air-tight cooler. There should be some airflow in and out of the cooler throughout the incubation period.
Test the cooler and the heat level before you put any duck eggs inside. Ensure that you can maintain temperatures of around 90° first.
Once you know you have the right heat, you can put your eggs inside and wait for approximately three weeks for some magic to happen.
Final Thoughts
Incubating duck eggs or chicken eggs is a ton of fun. Finding ways to hatch the eggs is a great project, especially for families with children learning about nature and how to nurture animals.
Follow these tips to hatch duck eggs without an incubator. It will save you a lot of money. It’s also a fantastic way to learn that there are usually many ways to solve a problem.
Hopefully, you’ll have success and will soon be taking care of some beautiful new baby ducks.