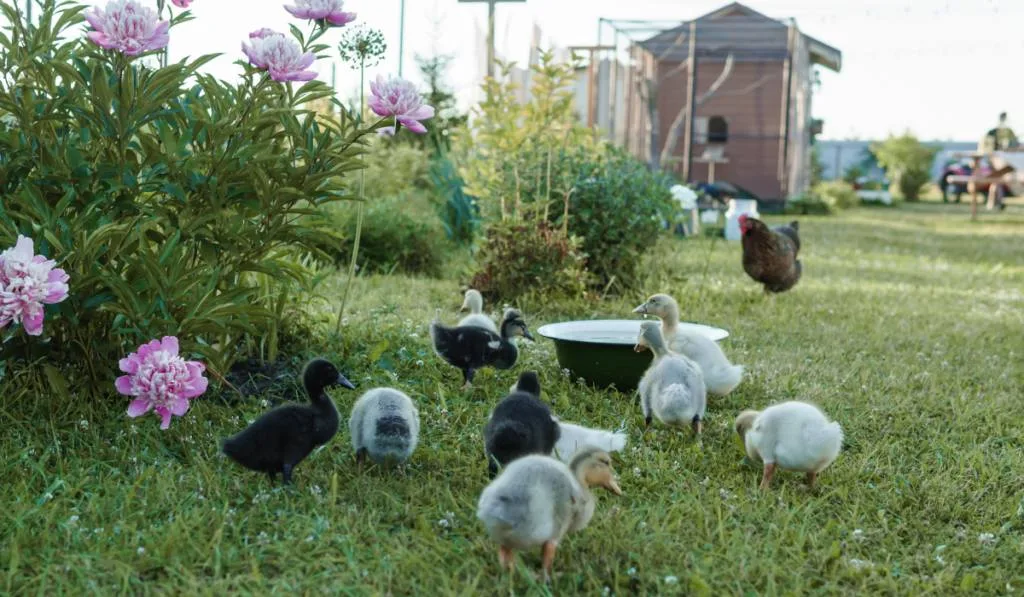
If you raise ducks, you may want to consider incubating eggs yourself.
Read this essential guide to understand the process and the steps involved.
Table of Contents
What You Need
Before you start incubating your duck eggs, gather everything that you need:
1. Fertile Duck Eggs
First of all, you need healthy, fertile duck eggs. To know if the eggs are fertile or not, you can check the other eggs in the coop.
If other eggs in the same coop have been hatching, then your egg will likely also hatch.
However, if you have many failed hatches, consider getting fertile eggs from other duck owners or feed mills.
Different duck breeds have different egg incubation periods. If you are incubating for the first time, start with breeds that hatch quickly, such as Khaki Campbells.
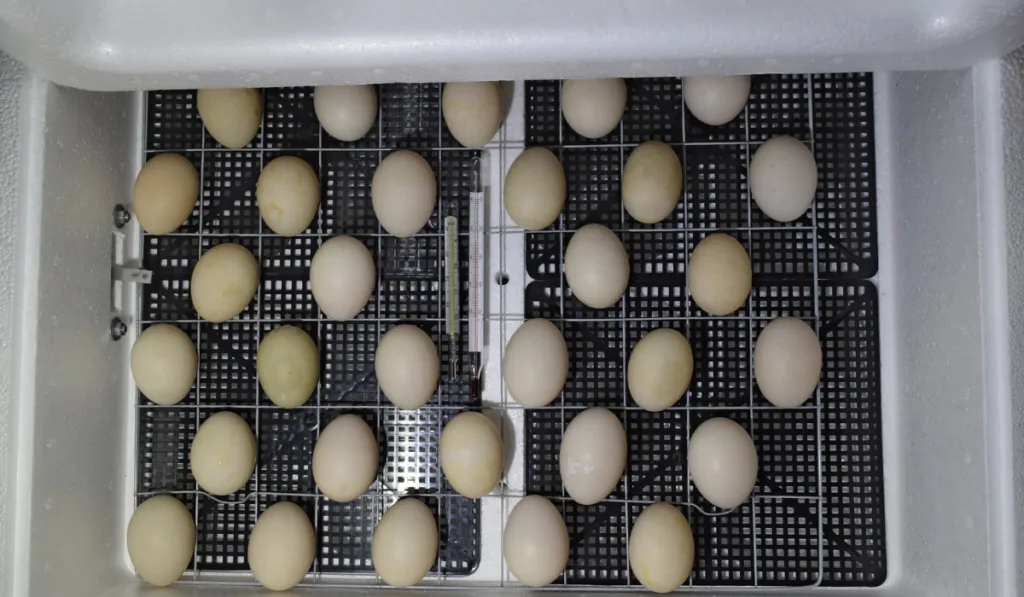
2. Incubator

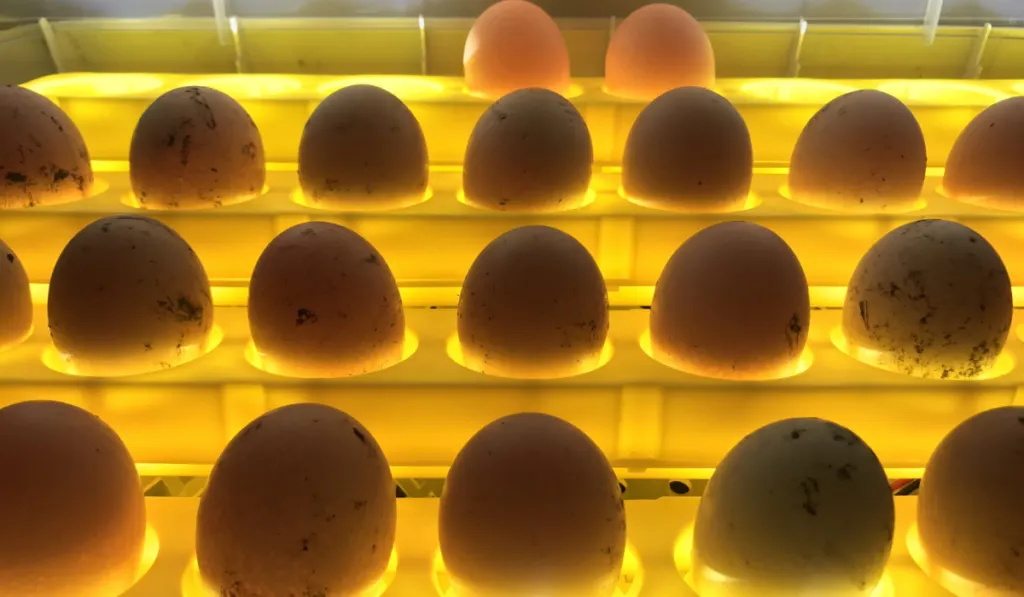
An incubator is a machine that incubates eggs by altering the temperature and humidity to meet the exact requirements of the developing birds.
There are several types of incubators for different birds, so you want to ensure that your incubator is suitable for duck eggs. Note that duck eggs are larger than chicken eggs.
While you can buy any type of incubator that you find online or in a store, buy a reputable brand.
Get an incubator that is durable. You can also get incubators with additional features, such as ones that spin the eggs automatically.
3. Flashlight
While the incubator will do most of the work for you, you also need to monitor your duck eggs yourself.
You need to monitor progress, as well as dispose of eggs that are not developing properly. To do this, you will need a flashlight.
Monitoring duck eggs with a bright flashlight is known as “candling.” You should candle the eggs weekly to ensure they are developing.
4. Brooder Box

Many first-time farmers make the mistake of not preparing a brooder box before their ducklings hatch.
A brooder box is any insulated box or place to keep your ducklings in their first few weeks of their life until they are able to take care of themselves.
Unlike with their mothers, ducklings you incubate yourself will rely on you for food, water, and shelter. To do this, you will need a brooder box.
We will discuss the contents of a brooder box later in this article.
5. Food and Water
You need to prepare quality feed and clean water for the ducklings before they hatch.
The feed should be rich in protein so the ducklings can quickly produce feathers. You can get quality duck feed from a pet store or feed mill.
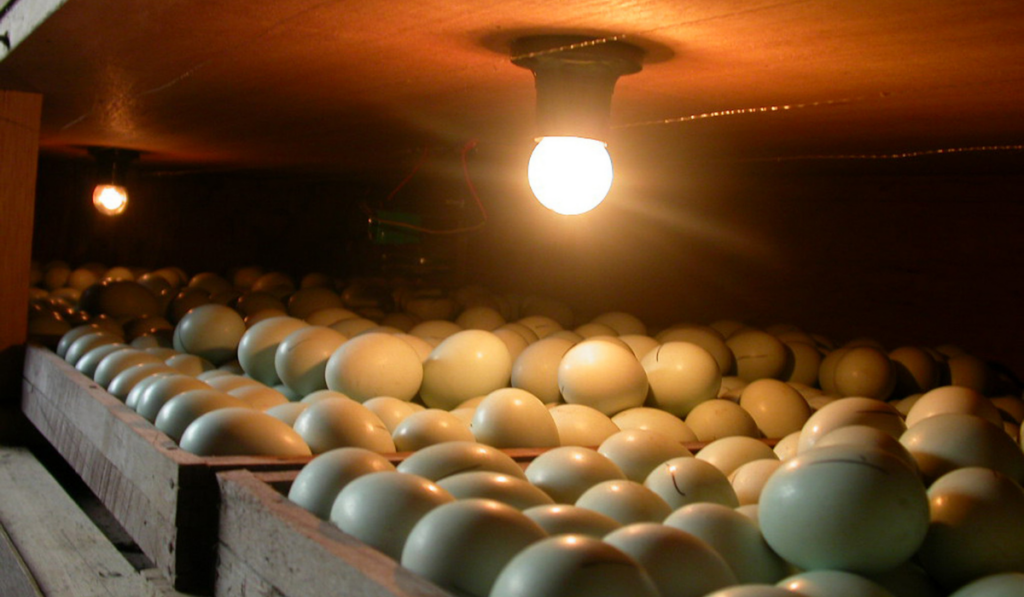

Incubating Duck Eggs
Incubating duck eggs can take up to 28 days. There are different tasks for each specific day, depending on the growth phase of the developing egg.
Day 0: Collecting and Setting the Eggs
Now is the time to put everything in order. Please take note of the following:
- Location: Do not place the incubator outside or under direct sunlight, as this can change the temperature inside. You want a stable temperature inside the incubator.
- Examine the eggs: Ensure there are no cracks in the eggs. Cracked eggs will not hatch and may infect other eggs in the incubator with fungi.
- Position: Place the wider end of the egg pointing up.
Now that everything is set, let’s look at the incubation process.
Incubating and Turning the Eggs
The table below shows the levels of temperature and humidity your duck eggs need according to their age.
| Day | Temperature (°F) | Humidity (%) |
| Day 0 (setting) | 99.5 | 55 |
| Day 25* (for most breeds) | 99 | 65 |
| Day 28 (hatching) | 99 | 80 |
| Day 28-29 (after hatching) | 97 | 70 |
* 3 days before hatching, as most breeds hatch on day 28.
You will need to turn the eggs 5 or 7 times a day. This is so the heat and humidity can reach the whole egg and the bird can develop uniformly.
Ensure that you turn the eggs an odd number of times, so the eggs aren’t in the same position for too long.
After day 23, stop turning the eggs, since the duck will begin positioning itself for proper hatching. If you turn the eggs too close to the time of hatching, you can delay the process.
Day 1-27: Cooling and Candling


Cooling and candling are important parts of incubation.
Cooling
When birds incubate their own eggs, the mother sometimes leaves the eggs to search for food. To imitate this, cool the incubator for 30 minutes, 1-2 times a day.
However, the temperature should never go below 86°F. Stop cooling the eggs on day 25.
Candling
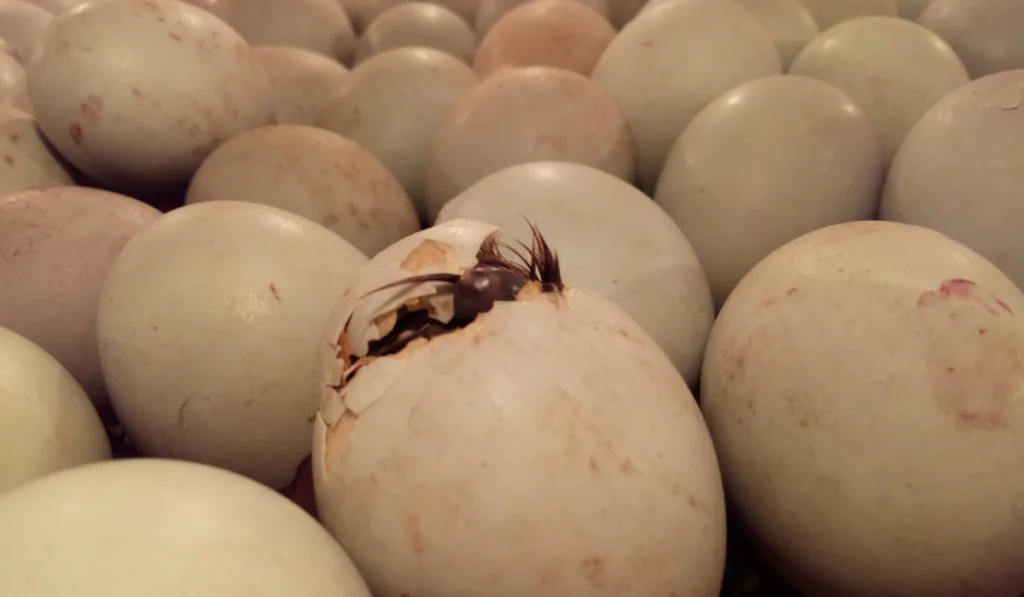
To candle eggs, shine a bright flashlight or incubation candle on them in a dark room. You should be able to see the developing birds in the egg.
Here’s what you may see, as well as what to do:
- Web-like network: A developing egg should look like a network of cells. This means the bird is developing. Place the egg back in the incubator.
- Clear egg: This means development has not started. Put the egg back in the incubator. If the egg is still clear after 10 days, you should dispose of it, as it may not be a fertile egg.
- Dark or murky egg: Dark or murky eggs may be rotten. Please dispose of them.
You can also monitor your eggs by weighing them and observing the level of liquid inside.
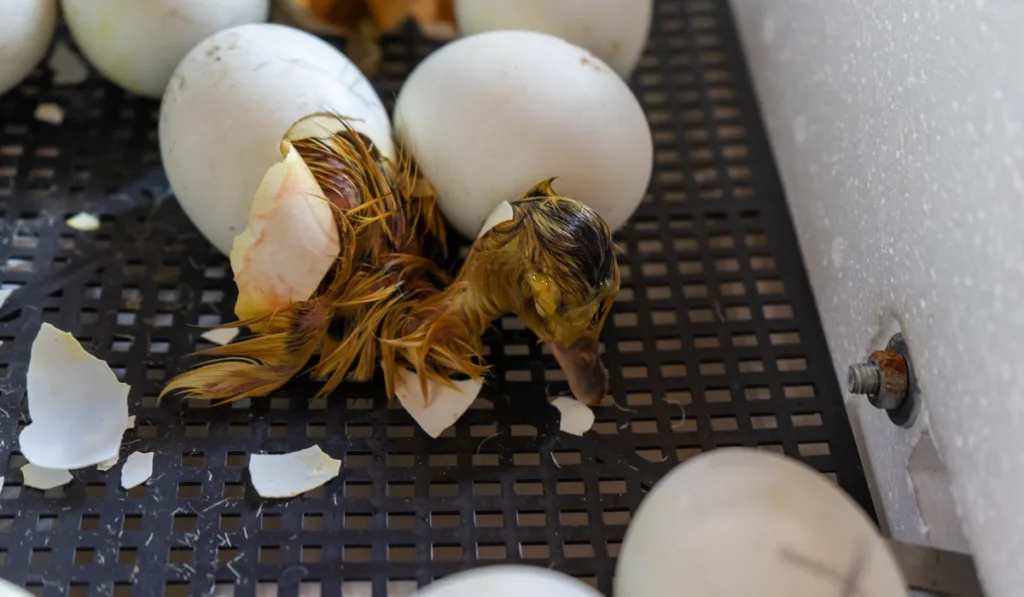
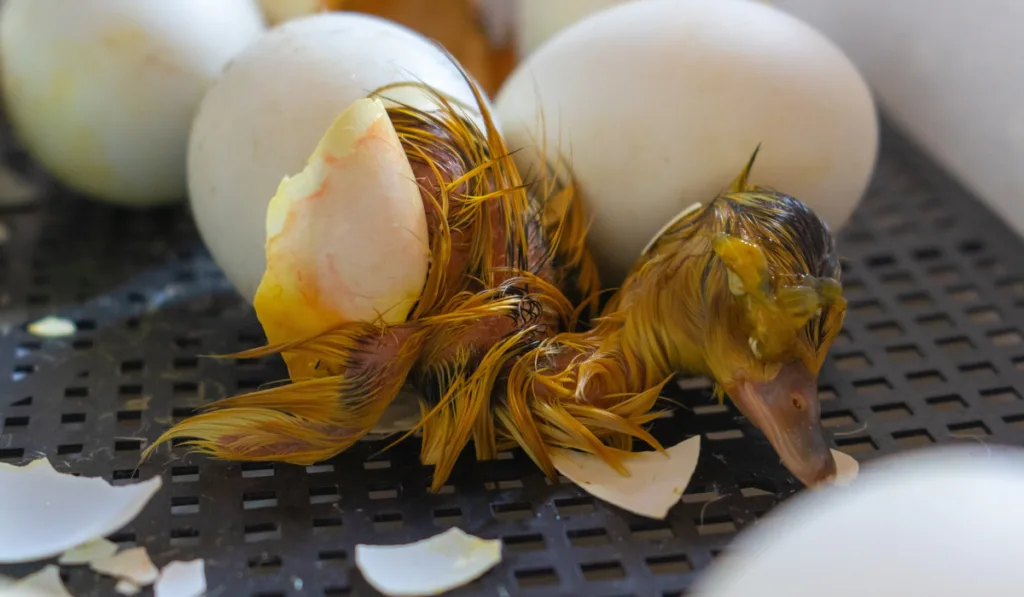
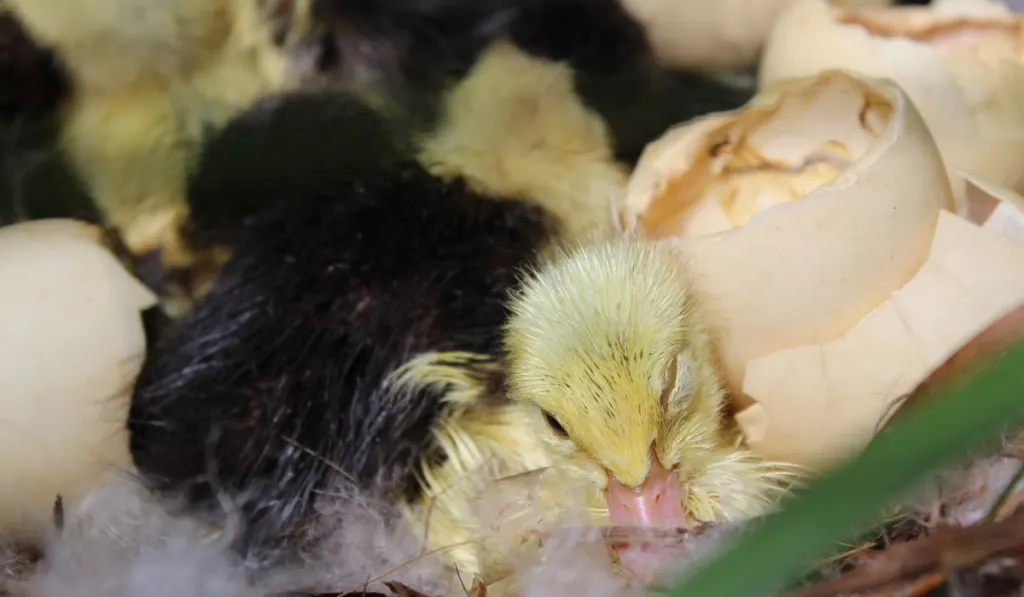
Day 28: Hatching

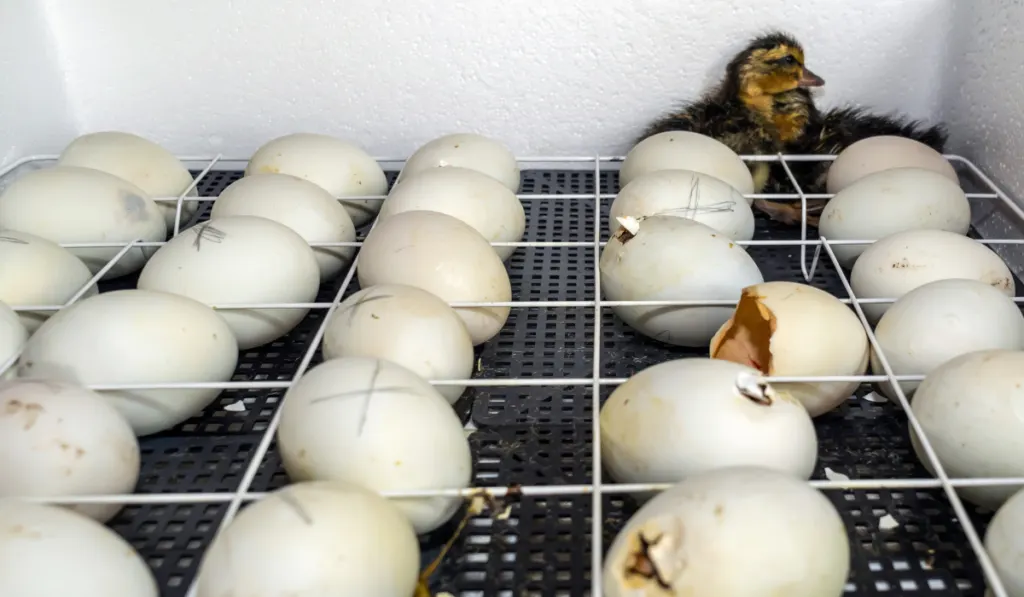
Increase the humidity of the incubator to 90% and gradually decrease it to 70% as they hatch.
Note that the entire hatching process can take up to 48 hours. After most of the eggs have hatched and the ducklings are clean and dry, remove the eggs from the incubator.
You can keep the remaining unhatched eggs in the incubator or any place with a stable temperature and wait until they hatch. If they do not hatch, dispose of them.
Additional Tips
Here are some extra tips to make incubation easier for you and your ducks:
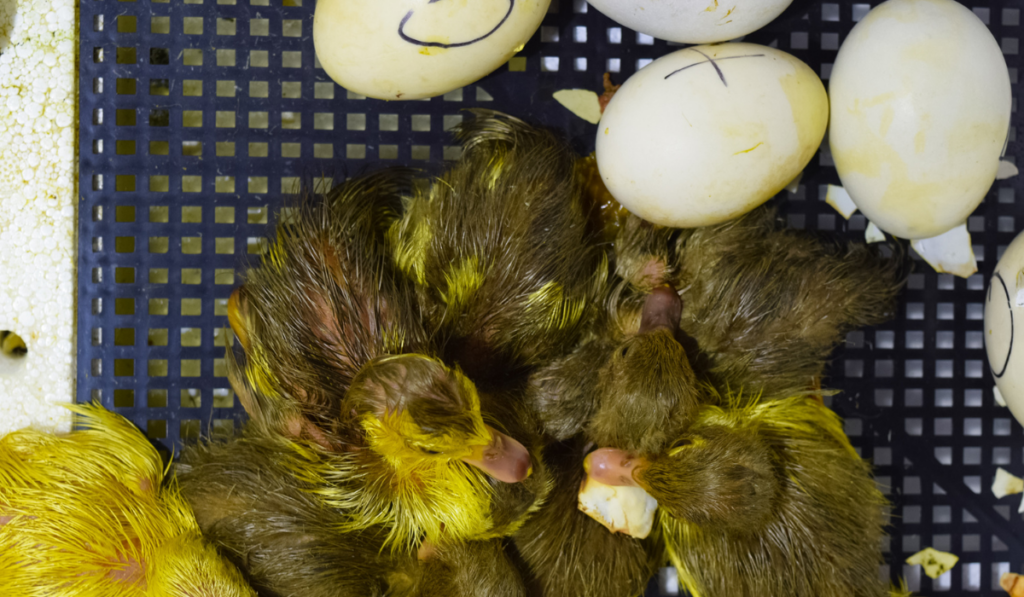
1. Mark the Eggs
Use a non-toxic, egg-safe marker or a pencil to mark the eggs you have already turned. This will help you remember which eggs you have turned and which ones you haven’t.
Mark each end of the egg with a different symbol (for example, “O” and “X”). Every time you turn the eggs, the position of these symbols will change.
2. Incubate Stored Eggs

You can store duck eggs and incubate them later. However, note that their chance of successfully incubating and hatching is lower the longer you store them.
Hatchability usually decreases about 0.5-1.5% each day. After the 10th day in storage, the eggs will no longer hatch.
Keep eggs in a safe spot to prevent cracks. Do not move them unnecessarily, as this reduces the chance of them hatching.
3. Do Not Interfere
Even if you hear pecks, do not help a duck break its shell.
The best way to detect a sick duck is during hatching. Slow hatchers will usually grow to become slow ducklings and they may not live for long.
To avoid problems in the future, wait until your ducklings hatch by themselves before taking them to the brooder box.

Caring for Your Ducklings
Here are some things to consider when caring for your ducklings:
1. Light and Temperature
Ensure proper light, temperature, and insulation in the brooder box.
During the first 4 weeks of life, keep the temperature at 75°- 80°F. You can use a heating lamp to help with this.
In addition, ensure proper lighting, as ducks need light to eat. As long as a light is on, the ducks will keep eating. This will help them grow very quickly.
2. Bedding
For their first week, make the bedding out of newspaper, paper towels, or any soft material that the ducklings cannot eat.
Do not use hard materials like rocks or wood, as duckling’s feet are not strong enough. After the first week, you can use wood shavings and other bedding materials.
Try not to use sawdust or other similar materials because these might irritate your little birds.
If you hear them sneezing, it could be because they are inhaling little particles from their bedding.
3. Food and Water

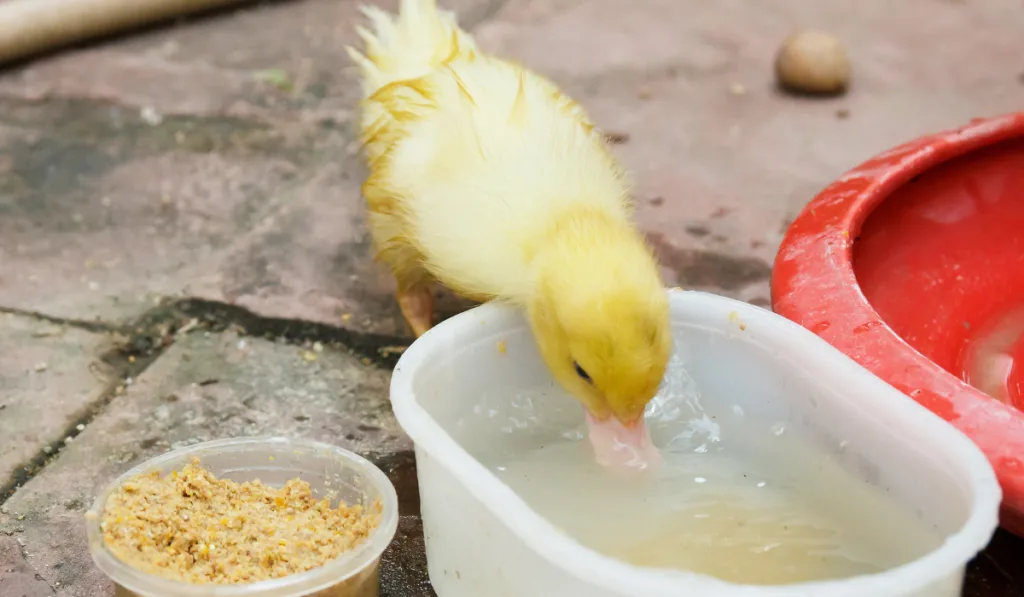
Ensure that your ducklings have quality feed and water. We will discuss the feed in more detail below.
Do not give your ducklings water that you wouldn’t drink. Also, ensure that you wash their feed and water troughs 2 or 3 times a day with clean, running water to eliminate bacteria and fungi.
4. Hygiene
Remove used bedding 1 or 2 times a day, especially when your ducklings are more than 3 weeks old.
If you don’t change their bedding regularly, your ducklings may get sick from bacteria, fungi, and other microbes in their droppings.
You will need a steady supply of bedding, as well as a way of disposing of it. If you have a garden or compost pile, used bedding can serve as a source of nutrients for your plants.
5. Prepare Them to Go Outside
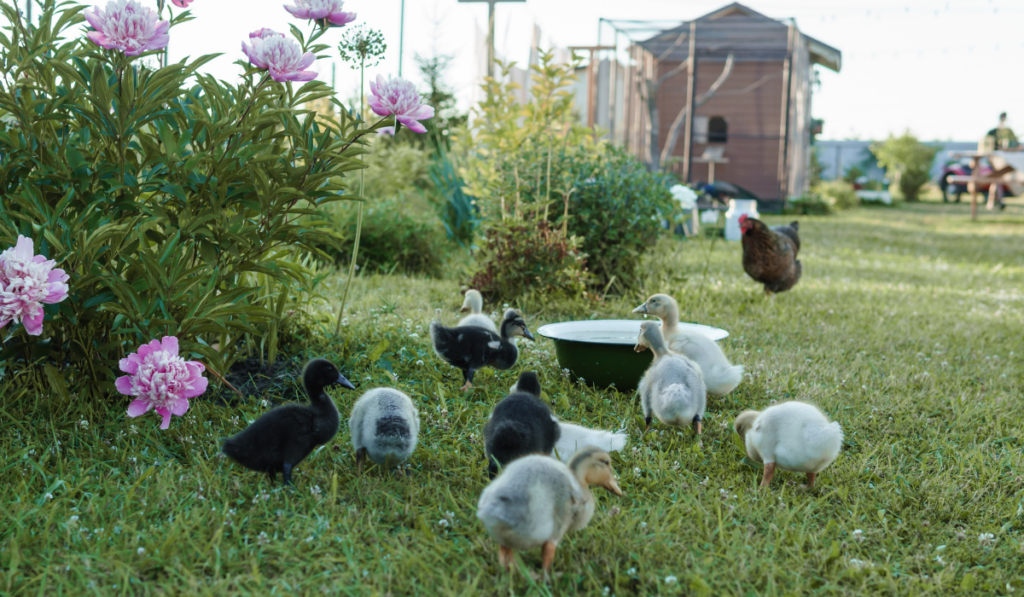
After 4 or 5 weeks in the brooder, your ducklings should be ready to go outside.
You can tell they are ready when they have complete feathers and are jumping out of the brooder box.
If you have other ducks on your farm, try introducing your ducklings to them so they can get used to other animals. Brood the ducklings near the other ducks so they can see and hear each other.
When the ducklings join the other ducks in search of food, they will follow them back to the same place you kept them.
Further Questions
Here are answers to common questions related to incubating duck eggs:
1. Why Are My Duck Eggs Not Hatching?

There are a few reasons why your duck eggs may not be hatching. Consider the following scenarios:
- Some hatched: If some of the eggs hatched, it means that your duck eggs were fertile. The problem may be your incubation technique, storage duration, or the natural hatching rate of the eggs.
- None hatched: If none of your eggs hatched, you need to make sure they are fertile. If you collected the eggs from a duck and left a few with her, check them to see if they hatched.
If the eggs that were incubated by the duck hatched, the problem is your incubation technique.
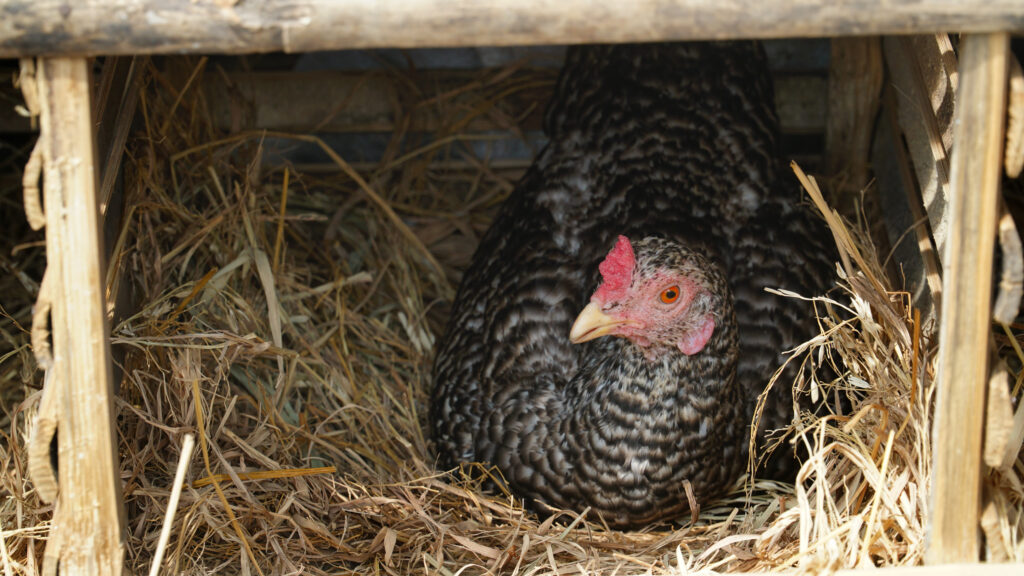
2. Should I Allow the Mother Duck to Incubate Her Eggs?
There is no correct answer for this, but you should consider the following:
- Size and weight of duck: Mother ducks usually eat less and concentrate more on the development of their eggs.
If the duck looks small and light, incubate the eggs by yourself so that she can concentrate on eating and gaining weight. - Number of eggs: While it is natural for a duck to incubate her own eggs, too many eggs might be hard on her. To help her, you can collect some of the eggs and incubate them yourself.
- Season: Eggs need more care in winter and the fall. If you happen to have eggs in these seasons, consider incubating them yourself.
- Experience: First-time duck mothers can make mistakes while incubating their eggs and brooding their ducklings.
If you do not have much room for error, incubate and brood the eggs yourself. - Farming technique: If you have a large-scale farm, you cannot rely on the ducks to incubate your eggs.
3. When Will My Ducks Hatch?

The incubation duration of duck eggs depends on the breed. Here are some common duck breeds, along with their incubation period:
- Mallard: 25-29 days
- Pekin: 28 days
- Rouen: 28 days
- Crested Duck: 28 days
- Cayuga: 28 days
- Khaki Campbell: 23-28 days
- Saxony: 28 days
- Swedish Duck: 28 days
- Muscovy: 35 days
- Buff Orpington: 28 days
Note that the timing also depends on your incubation technique. Eggs that incubate in an ideal environment hatch faster.
4. Can Chickens Incubate Duck Eggs?

Birds can incubate other birds’ eggs. You can allow a hen to sit on your duck eggs.
Note that you should consider the number of eggs and the size of the farm before using a hen. Also, the duckling will most likely imprint on the hen and follow her wherever she goes.
5. What Do Ducklings Eat?
Here are some foods you can feed your ducklings:
- Quality process feed: A steady supply of protein is important for ducklings. The feed should have at least 25% crude protein during the first few weeks of life.
- Grains: You can supplement the duck feed with grains, but do not give them too much. Give them grains as treats.
- Insects: You can buy mealworms and other types of insects from a feed mill for your ducklings. You can also produce them by yourself if you want. Give your ducklings as many insects as they can eat.
- Vegetables: Give vegetable treats to your ducklings, but not too many.
- Whatever they can find: Ducklings can follow their mother and eat whatever she finds.
Ensure that your ducklings always have access to quality, high-protein feed as well as clean water.

Final Thoughts
As you can see, incubating duck eggs doesn’t have to be difficult. As long as you maintain the correct temperate and humidity and turn the eggs properly, your ducklings should hatch.
Remember to candle the eggs regularly to monitor their progress.
Resources
- https://www.chickensandmore.com/incubating-duck-eggs/#How_To_Set_Up_An_Incubator
- https://www.thehappychickencoop.com/how-to-incubate-duck-eggs/
- https://www.hgtv.com/outdoors/gardens/animals-and-wildlife/how-to-hatch-duck-eggs
- https://thegardenmagazine.com/incubating-duck-eggs-how-to-hatch-duck-eggs/
- https://www.vet.cornell.edu/animal-health-diagnostic-center/programs/duck-research-lab/hatching-duck-eggs