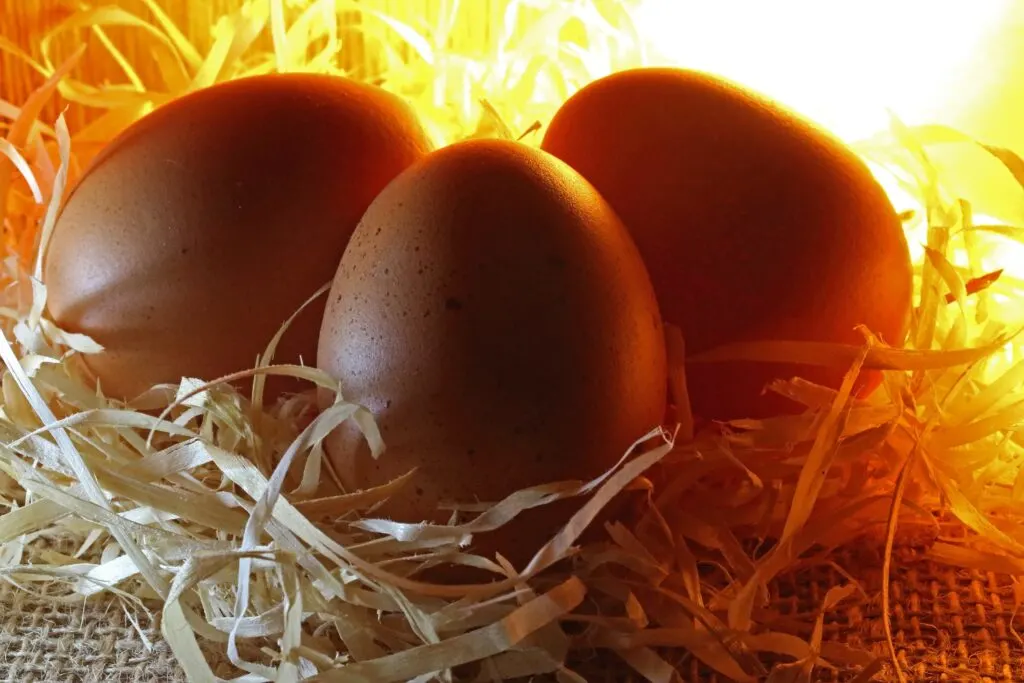
Peacocks are not only ornamental birds, they can be reared for their eggs and meat. Hatching peacock eggs using an incubator is one of the best ways to control the hatching environment and guarantees a good hatch rate.
An incubator controls the humidity, temperature, and position of the eggs.

Successfully incubating peacock eggs doesn’t have to be frustrating; here are some steps you can follow to get started. Our detailed guide covers some of the essential tips you need to know when incubating peacock eggs and what steps to follow.
Table of Contents
Check the Breeders
The first step towards successful incubation is to prepare the breeders. Your breeders should be free from internal or external parasites.
Ensure that the breeder birds are on a pheasant or chicken layer feed a month before any eggs are laid.
Don’t forget to clean their housing before the laying season. That reduces bacterial contamination and reduces any chance of the birds getting sick.
Remember that a healthy breeder bird is the key to viable eggs.
Prepare the Incubator Ahead of Time
First, check if all the components are working, including the egg turner motor. That will save you from any challenges later on.

Incubator Temperature and Humidity
It’s also essential to check the temperature and humidity settings before each laying season, regardless if the incubator has been in use for years or is new. Measure the temperature in different places to make sure that there’s consistency throughout the incubator.
Set the thermostat to ensure that the temperature stays at 99-100 degrees Fahrenheit. Incubators with air circulation fans help maintain the right temperature.
Remember to check the accuracy of your incubator’s thermometer by comparing it to another thermometer.
An inconsistent temperature could be due to a damaged heating element, switch wafer, door seal, or a fan motor. You should fix these problems before the incubating period.
A humidity level of 60% is preferred for the proper development of the embryo.
Fortunately, you can adjust the humidity level of your incubator by using a water pan inside the incubator. A higher humidity level will be created when lots of water evaporates from the water pan.
You can also adjust the humidity level by allowing less or more air to escape and enter.
Incubator Placement
Placement of the incubator is another critical aspect that shouldn’t be ignored. How you position the incubator can determine whether you achieve the right setting or not.
Find a location with constant temperature and humidity levels. A good area that is heated and cooled is ideal for an incubator.
You may find it challenging to monitor an incubator that is out in a barn as the humidity and temperature are not controlled. A barn is likely to experience extreme changes that can make your incubating experience frustrating.
Incubator Cleaning
The final step in preparing your incubator is cleaning it. That’s to ensure that the incubator is free of any bacteria that may contaminate the eggs.
You can use a disinfectant solution to thoroughly clean the incubator before and after each use.
Avoid letting the eggs hatch in the incubator, as the mess from hatching may lead to bacteria formation. Instead, opt for a separate hatcher and place it in a place where it can be cleaned often.


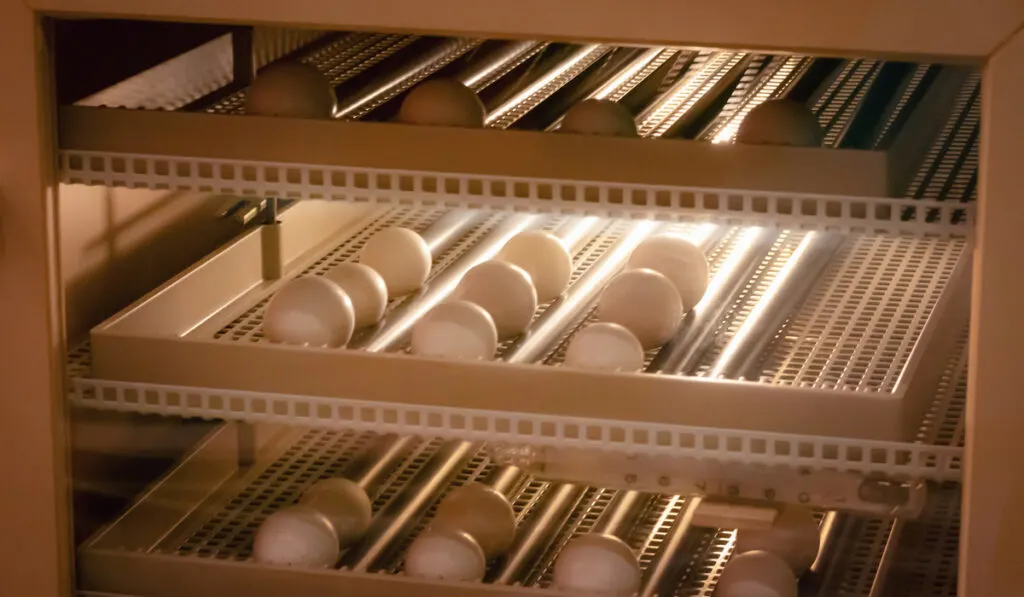
Set the Eggs
Once you’ve made sure that your incubator is ready and clean, it’s time to now set the peafowl eggs. Place the eggs upright in the incubating trays. The pointed egg tip should be facing down.
To remember when you need to turn the eggs, make a line on the eggs using a pencil and record the date the egg was set.
You can improve hatching success by turning the eggs over 180 degrees twice a day. Some incubators have automatic turners that tip in desired direction every two to three hours.
However, it’s still essential to mark your eggs if you are using an automatic turner. That makes it easier to put them back in the right position in the turner once you’re done with egg candling (explained below).
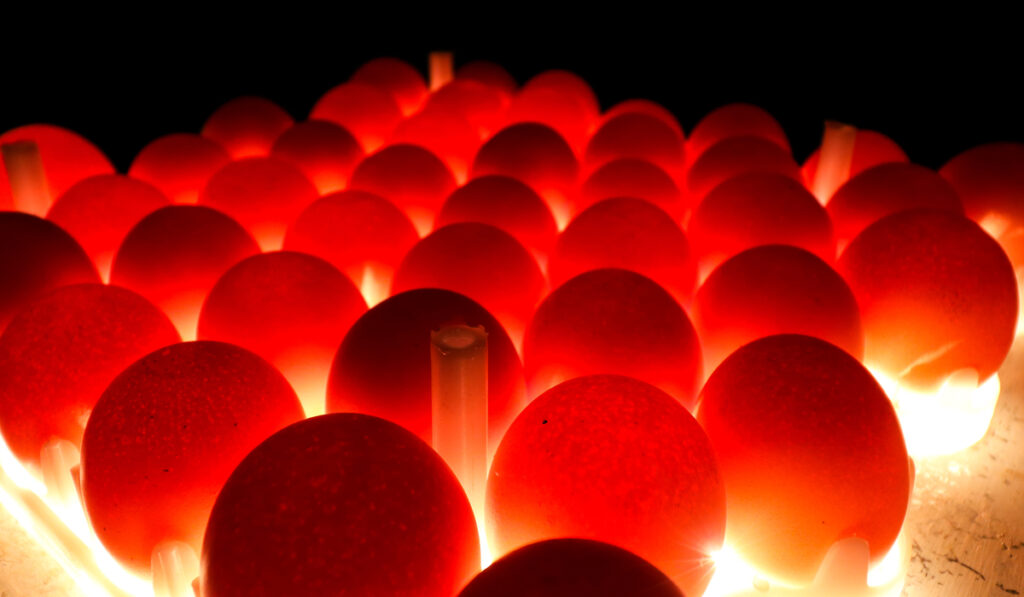
Determine Peacock Egg Fertility (Candling)
It’s easy to tell if your peacock eggs are fertile once you incubate them and candle them. Candling the eggs once a week is recommended.
Candling involves shining a bright light under the wide end of the egg in a dark room. A fertile egg displays a dark spot around the middle of the egg and may start to form spider-like veins around it.
An infertile egg has no signs of veins or an embryo and shows the shape of the yellow yolk inside.
Experts recommend candling on day 4, day 10, and day 17. Repeating the process multiple times throughout the incubation process allows you to identify whether the fertile eggs are developing as they should. It also tells you if the embryo is dead and if the egg needs to be removed.
If the egg fails to show signs of development after ten days of incubation, you should remove it to avoid contaminating other eggs in the incubator.

Hatching
The fertile eggs are now left in the incubator up to the 26th day. You’ll then need to transfer the eggs to the hatcher.
Note that you can use a separate egg hatcher or use the hatching tray provided by your egg incubator. Ensure you don’t turn the eggs. That allows the chicks to orient themselves for hatching.
Make sure that the temperature is similar to that set for the incubating period and set the humidity to 90%.
If you have an incubator that has a passive humidity control system, add water daily to correct the humidity levels. Too high or too low humidity can lead to peachicks failing to hatch.
High humidity levels mean very little water evaporates from the egg, and the air cell will be smaller and harder for the chick to reach while hatching. That can cause the chick to drown. And low humidity causes the membrane to dry out.
Leave peacock chicks in the hatcher for a day or wait until they can stand and move easily.

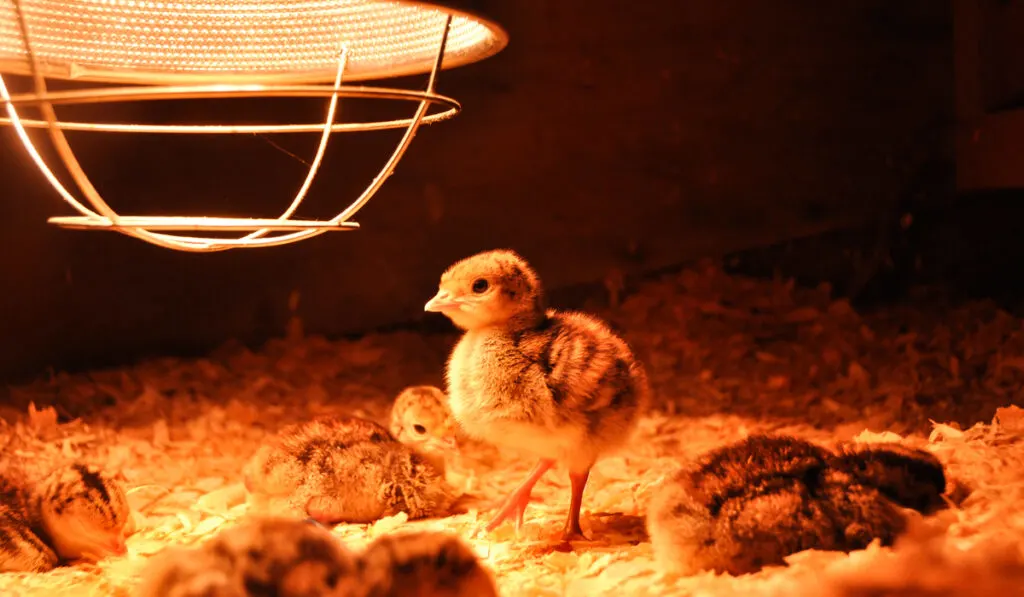
Brooding
The goal of the incubation process is to get healthy peachicks that grow fast.
Place the chicks under a brooder lamp with a temperature of 95 degrees Fahrenheit. Reduce the temperature by 5 degrees each week as the peachicks grow feathers and mature. A large brooder will help accommodate the peachicks as they are a bit bigger than baby ducks and chickens.
Lower the lamp temperature every week until the heat lamp goes off.
The floor of the brooder should be wire mesh that allows unwanted feed and droppings to fall through. However, the wire mesh shouldn’t have big gaps that can allow predators inside the brooder. Put a roof on the brooder to contain the peachicks as they can fly away.
Ensure that you give the chicks a high protein starter feed and provide fresh water at all times.
The peachicks should be ready to move outdoors in 2-3 months.
Final Thoughts
Incubating peacock eggs depends on the right temperature, humidity levels, and egg hatching time. Make sure that your incubator is prepared ahead of time, check that all parts are working, and sanitize it to prevent bacterial contamination.
Artificially hatching peacock eggs gives you the freedom to control the environment and raise peacocks based on your needs and desires. Nonetheless, the process requires proper climate requirements and daily attention.
Sources
- https://www.livestocking.net/incubator/how-to-hatch-peacock-eggs
- http://www.peafowl.com/EggSale.html
- https://unitedpeafowlassociation.org/articles/artificial-incubation-of-peafowl-eggs/
- https://backyardanswer.com/how-long-does-it-take-for-a-peacock-egg-to-hatch/
- https://chickenandchicksinfo.com/peacock-egg-hatching-time/
- https://www.peacocksuk.com/peacock-information/incubating-peacock-eggs/
- http://www.hopkinslivestock.com/Peafowl%20Egg%20Incubation.htm