If you have some recently-hatched chicks, you know that their fuzziness and chirping are just adorable at first. But, when the chirping is nonstop, you may start to wonder. Is it normal for chicks to chirp around the clock, or is there an important message they’re trying to convey?
Why do your chicks chirp so much? There are a few essential things to consider:
- The temperature of the brood
- Availability of food and water
- Discomfort or disease
There are different types of chirping. But as their responsible human, you’re probably wanting to make sure they’re innocently chirping or wailing in despair. Read further into each category to ensure they’re well taken care of. Odds are, you can put a stop to the excessive chirping.
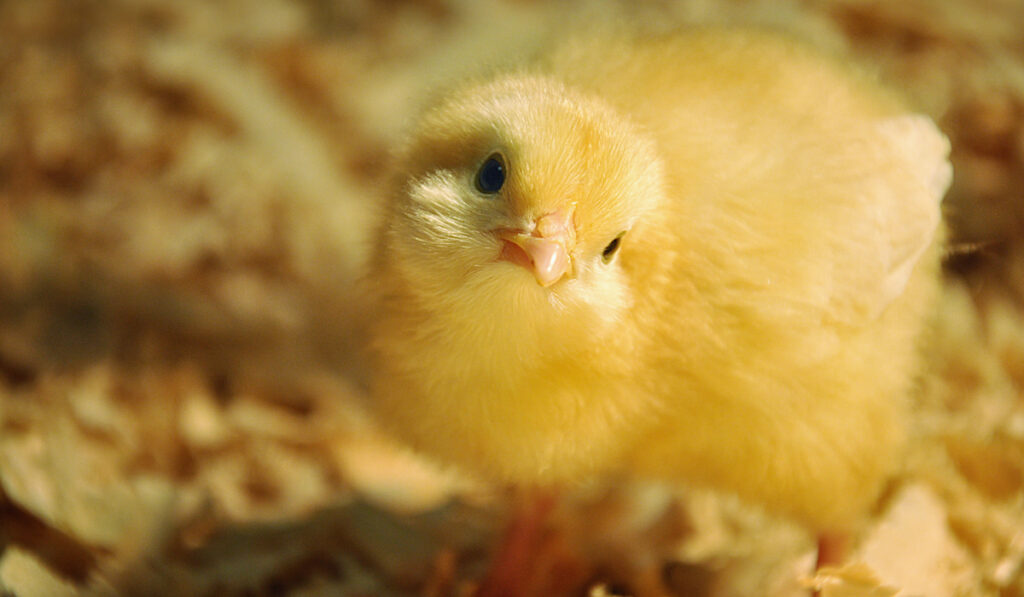

Table of Contents
Why are My Chicks Chirping So Much?
Chicks chirp and peep for many reasons: they may be chirping with delight, or they may be in distress. How are you to know? Let’s talk about the things you can check to find out what your chick may be trying to communicate.
1. Temperature
Let’s start with temperature. It is one of the essentials of survival for a chick, and they can easily die from the cold. Make sure the chicks are comfortably warm and not too cold nor too hot.
If your chicks are chirping loudly, there is a good chance they are voicing discomfort. And most often, the temperature is the culprit.
When chicks first leave a warm bath after birth, they are highly sensitive to the temperature with their limited feather-coat and new environmental change. The recommended temperature is to let them warmly dry out in a 99 degree-Fahrenheit (37.5 degree-Celsius) incubator after their welcoming birth.
It is important to ensure that they can maintain their warm core body temperature since the cold can be fatal to them. Aim for a comfortable temperature in each stage of the chick’s muscular growth and throughout their feather coat development to keep them happy.
There are a few things you can check for temperature but start with using a thermometer. In week one, the temperature of your chick’s brook should be at 95 degrees Fahrenheit (35° C). For every additional week of life, the temperature can dip 5 degrees Fahrenheit. So, in week two, you can keep the brood at 90°, at week three it can be 85° and so on.
Temperature Check-List
With the reference temperatures in hand, go through this checklist to ensure the entire brood is providing a good temperature for the chicks.
The orientation of the brood’s bulb placements
Either using an infrared heat lamp, which can be easily obtained or incandescent light, place two lamps above the brood. (Red lamps are recommended over white lamps to avoid disturbing their sleep cycle). Try to keep a range of 1ft to a 1.5ft between the lamp head and the floor.
The key is to keep at least two lamps in the brood in case one burns out when it is unattended. Ensure there is a continuous heat source and keep flammables away from the bulbs.
Depending on the surrounding temperature of the brood, the temperature in the brood can easily fluctuate. Either try to keep the brood in a temperature-controlled room or closely monitor the temperature with an extra thermometer.
Tip: Place several thermometers throughout different locations in the brood. Place them away from the two heat sources to ensure there is uniform heat distribution.
Check your chicks’ behaviors
Another great indicator of temperature next to the thermometer is the chicks’ behaviors. Along with their excessive chirping, they may show some obvious behaviors hinting discomfort of heat or cold.
- If they group near the heat source, and chirp loudly, they are possibly too cold.
- If they group away from the heat source, pant, and peck at one another, they may be hot
- The happiest chicks are well-distributed despite the heat source and will chirp cheerfully.
2. Availability of Water and Food
Water and food are not required during the first 48 hours after hatching, but they are good to have ready early on. Make sure the chicks have access to both and that the food and water containers cannot be toppled over during the night and when unattended.
The water must be above the level ground and closer to the height of their back. The lower-leveled water source that is open is easily going to be hazardous for two important reasons.
- A chick can easily drown in an open water source,
- A chick’s droppings can easily contaminate the water basin,
Which brings us to the next possibility of the desperate chirping. Ensuring a good water source and accessible water avoids dehydration and some sicknesses that will certainly make the chick’s chirp.
3. Discomfort or Disease
Usually, low exposure of coccidia throughout growth helps the chicks build their immune system, but they can also be introduced to an excessive amount by neighboring chick broods.
Coccidiosis
Coccidia is an intestinal parasite that is commonly found in chicken coops, but when it enters the intestinal tract of chicks, it is deadly. In fact, coccidiosis is the number one killer of chicks. However, it can be treated if attended to early.
This would not cause a loud chirping, but if your chick is making distressed chirping sounds, it’s good to examine what their discomfort may be, in case it’s an early sign of coccidiosis.
Pasting Bottom
A stressed chick would result in lower immunity, which could signal sounds of distress. This would be a good time to inspect for anything that could be resulting in their higher stress levels.
If you are checking the chicks during this time, examine their bottoms as well for a “pasting bottom.” They could sit on soft droppings, which could harden over, causing them to have a blocked bottom.
This results in sealing their vent and will cause severe illnesses and eventual death. This needs to be cleaned off as soon as possible.
Why Do Chicks Chirp at Night?
Chicks should be happily huddled and sleeping together at night. The reason they may be chirping could be a result of the mentioned above – temperature, food, or sickness/discomfort.
If all of those mentioned, especially temperature, are well-maintained and comfortable for a chick, they may be needing the comfort of another kind. Go ahead and try to cup them in your hands, a warm cloth, or a beanie (while being monitored) to let them sleep.
This could give the chick an illusion of a mother hen and feel safer and warmer under some pressure than being simply exposed to open warm light.
Lastly, if they are randomly wailing at night, take a small light source and monitor the room the chicks are in. There is a possibility that a predator is lurking nearby, and the chicks may be chirping in fear.
Setting up Chicks for a Safe and Good Home
Here are the essentials of keeping a chick happy and chirping a sing-song “chippity-chip.”
- Keep a fresh supply of clean water at a good height above the chicks
- Expose the chicks to the water location by dipping their beaks in it
- Start feeding them with a chick starter ration, move to placing the feed on a small lid, then to a feeder
- Sprinkle the feed on the floor to keep the chicks entertained and exposed
- Keep the brooder well-heated, clean and dry
- Keep the chicks a few feet away from the adult flocks for the first 8 weeks. This is to give them time to slowly build immunity
Tips for Setting Up Your Chick Brooder
For new chicks, it is recommended to provide a litter for chick droppings.
It is best caught in a wire bottom, or some litter shavings with a tray (avoid cedar shavings). To expose the chicks to some coccidia and for gradual exposure, shavings are recommended. This also provides warmth and insulation for the new chicks.
During the first two days, place a layer of paper towels on top of the shavings.
This is a great way to introduce them to feed. A sprinkle of food on top will provide entertainment, and also the soft paper towel will prevent any injuries.
Keep the litter dry afterward by removing any wet litter and fluffing up the shavings.
Additionally, scoop out any droppings twice a day. This ensures a clean and dry litter preventing any mold, bacteria growth, or diseases.
Provide as much light as possible and place the brooder near natural light.
Natural light exposure is the best option for your chicks, if possible. Cover the brooder with full coverage with chicken wire to prevent any predators from going in.
Lastly, it is highly recommended to keep up with chick raising tips.
There are many groups and organizations that can help you with more advice on growing your chicks. There are experts on raising-chickens.org that will help you with the 101 of setting up the brooder and raising them into strong chickens.